The Moravian workbench build
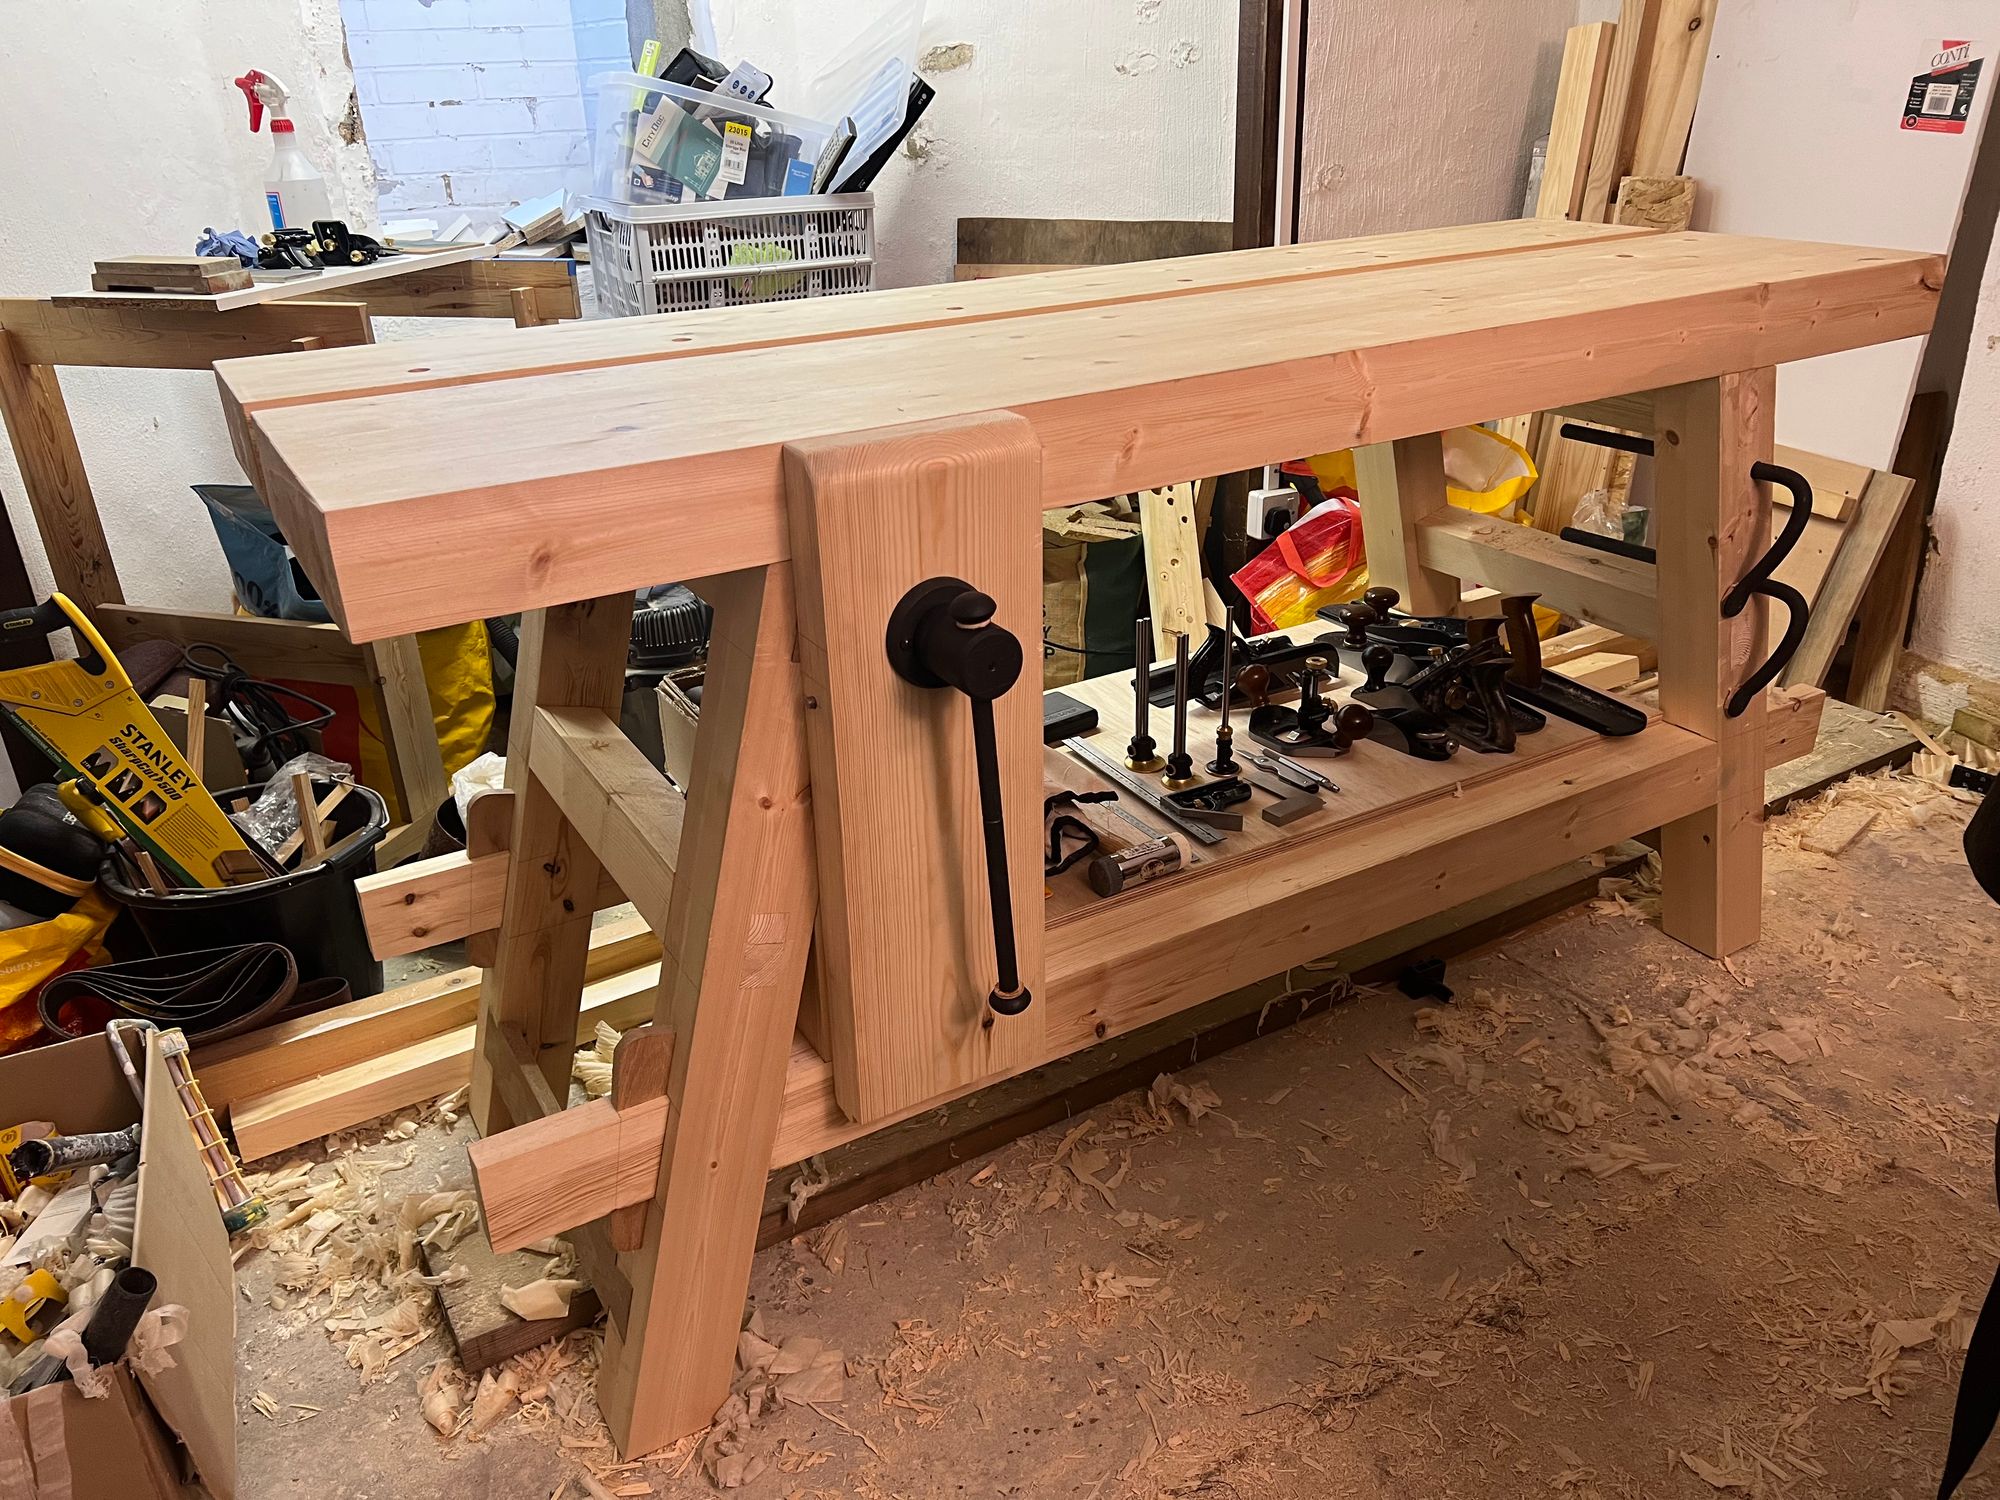
I recently completed the main part of my workbench build following the Moravian Workbench style popularised by Will Myers.
Why this design?
The primary reason was the allure of having a reasonably hefty workbench that was still easy to knock down and move when needed. I'm using our basement as a workshop so even though a heavy Roubo style workbench was appealing, the lack of portability and additional weight of most Roubo-style builds made it impractical. The basement stairs make portability and knock-down possibility a hard requirement.
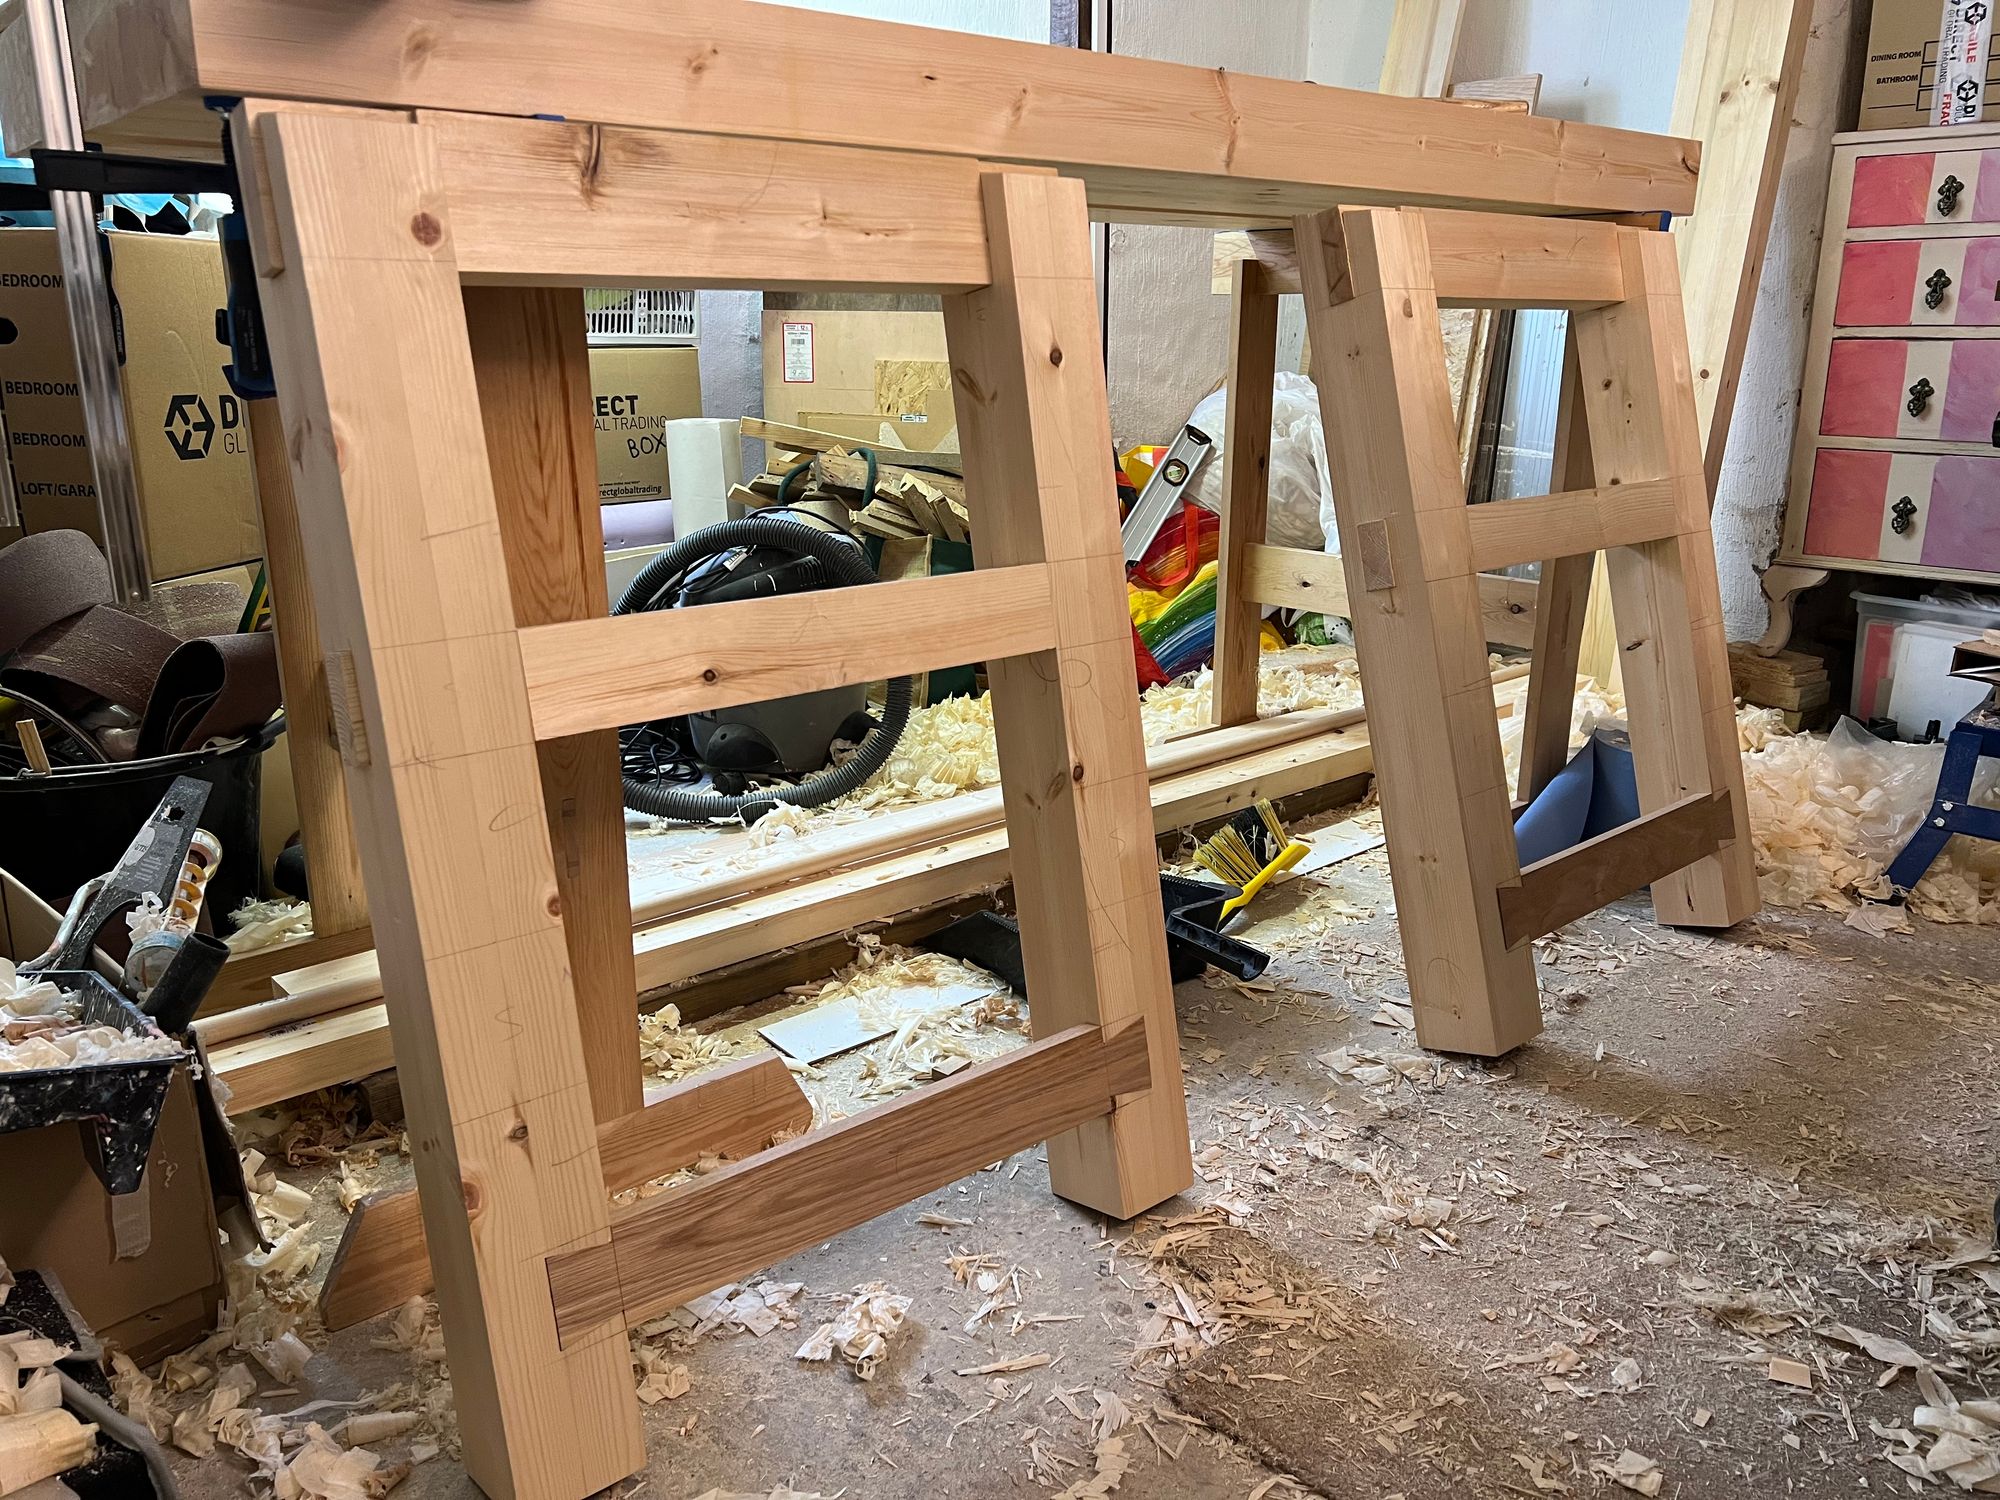
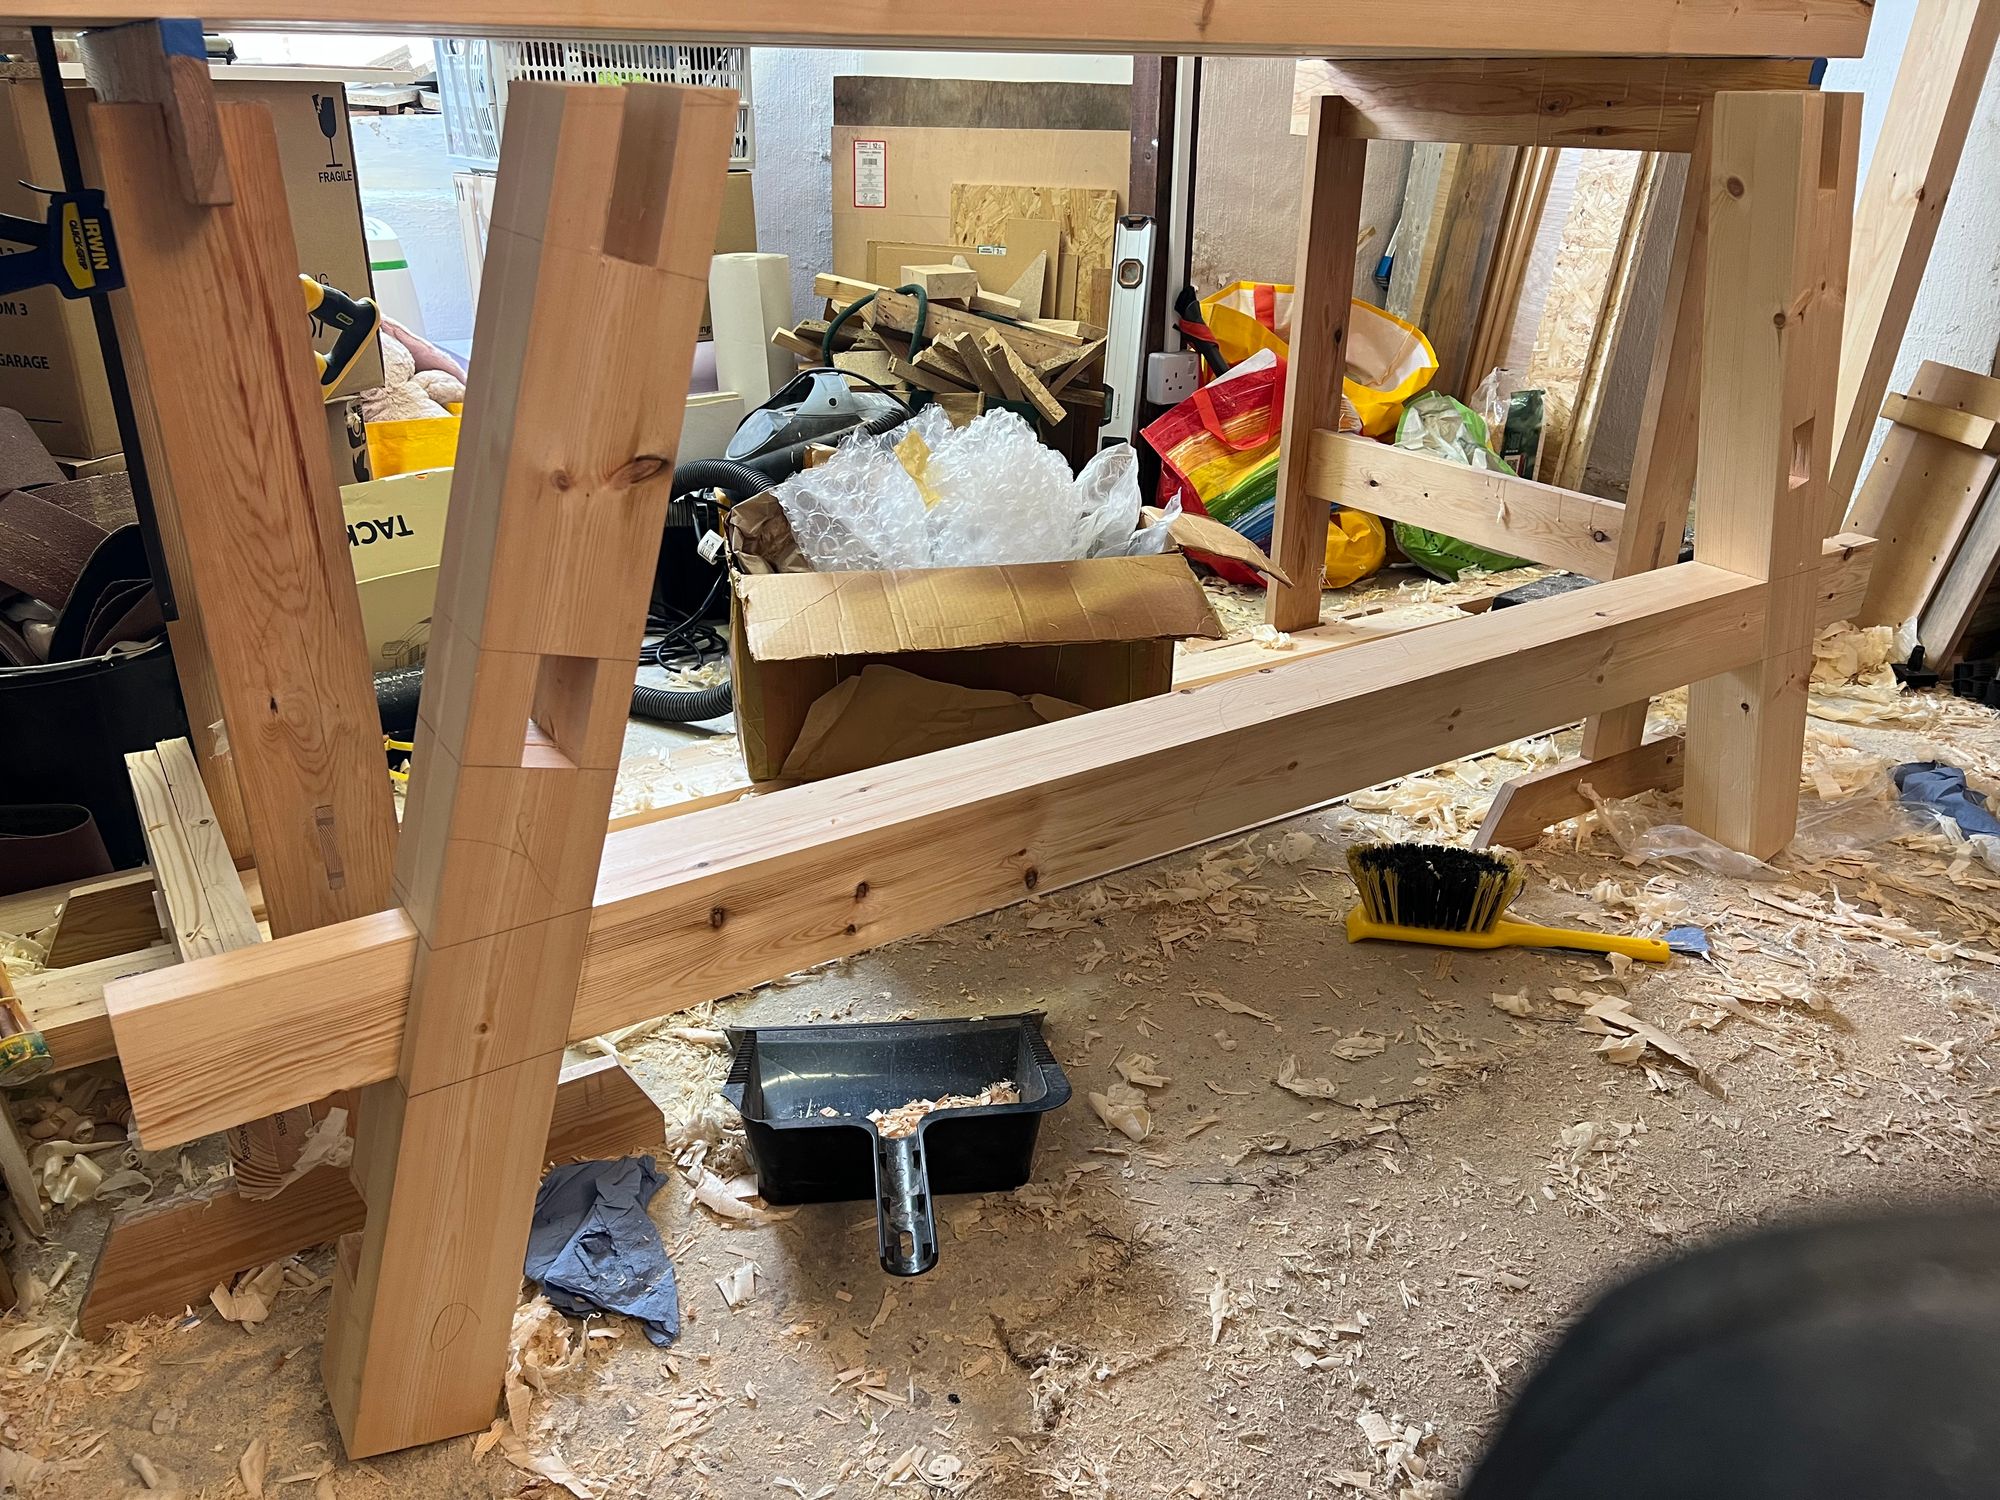
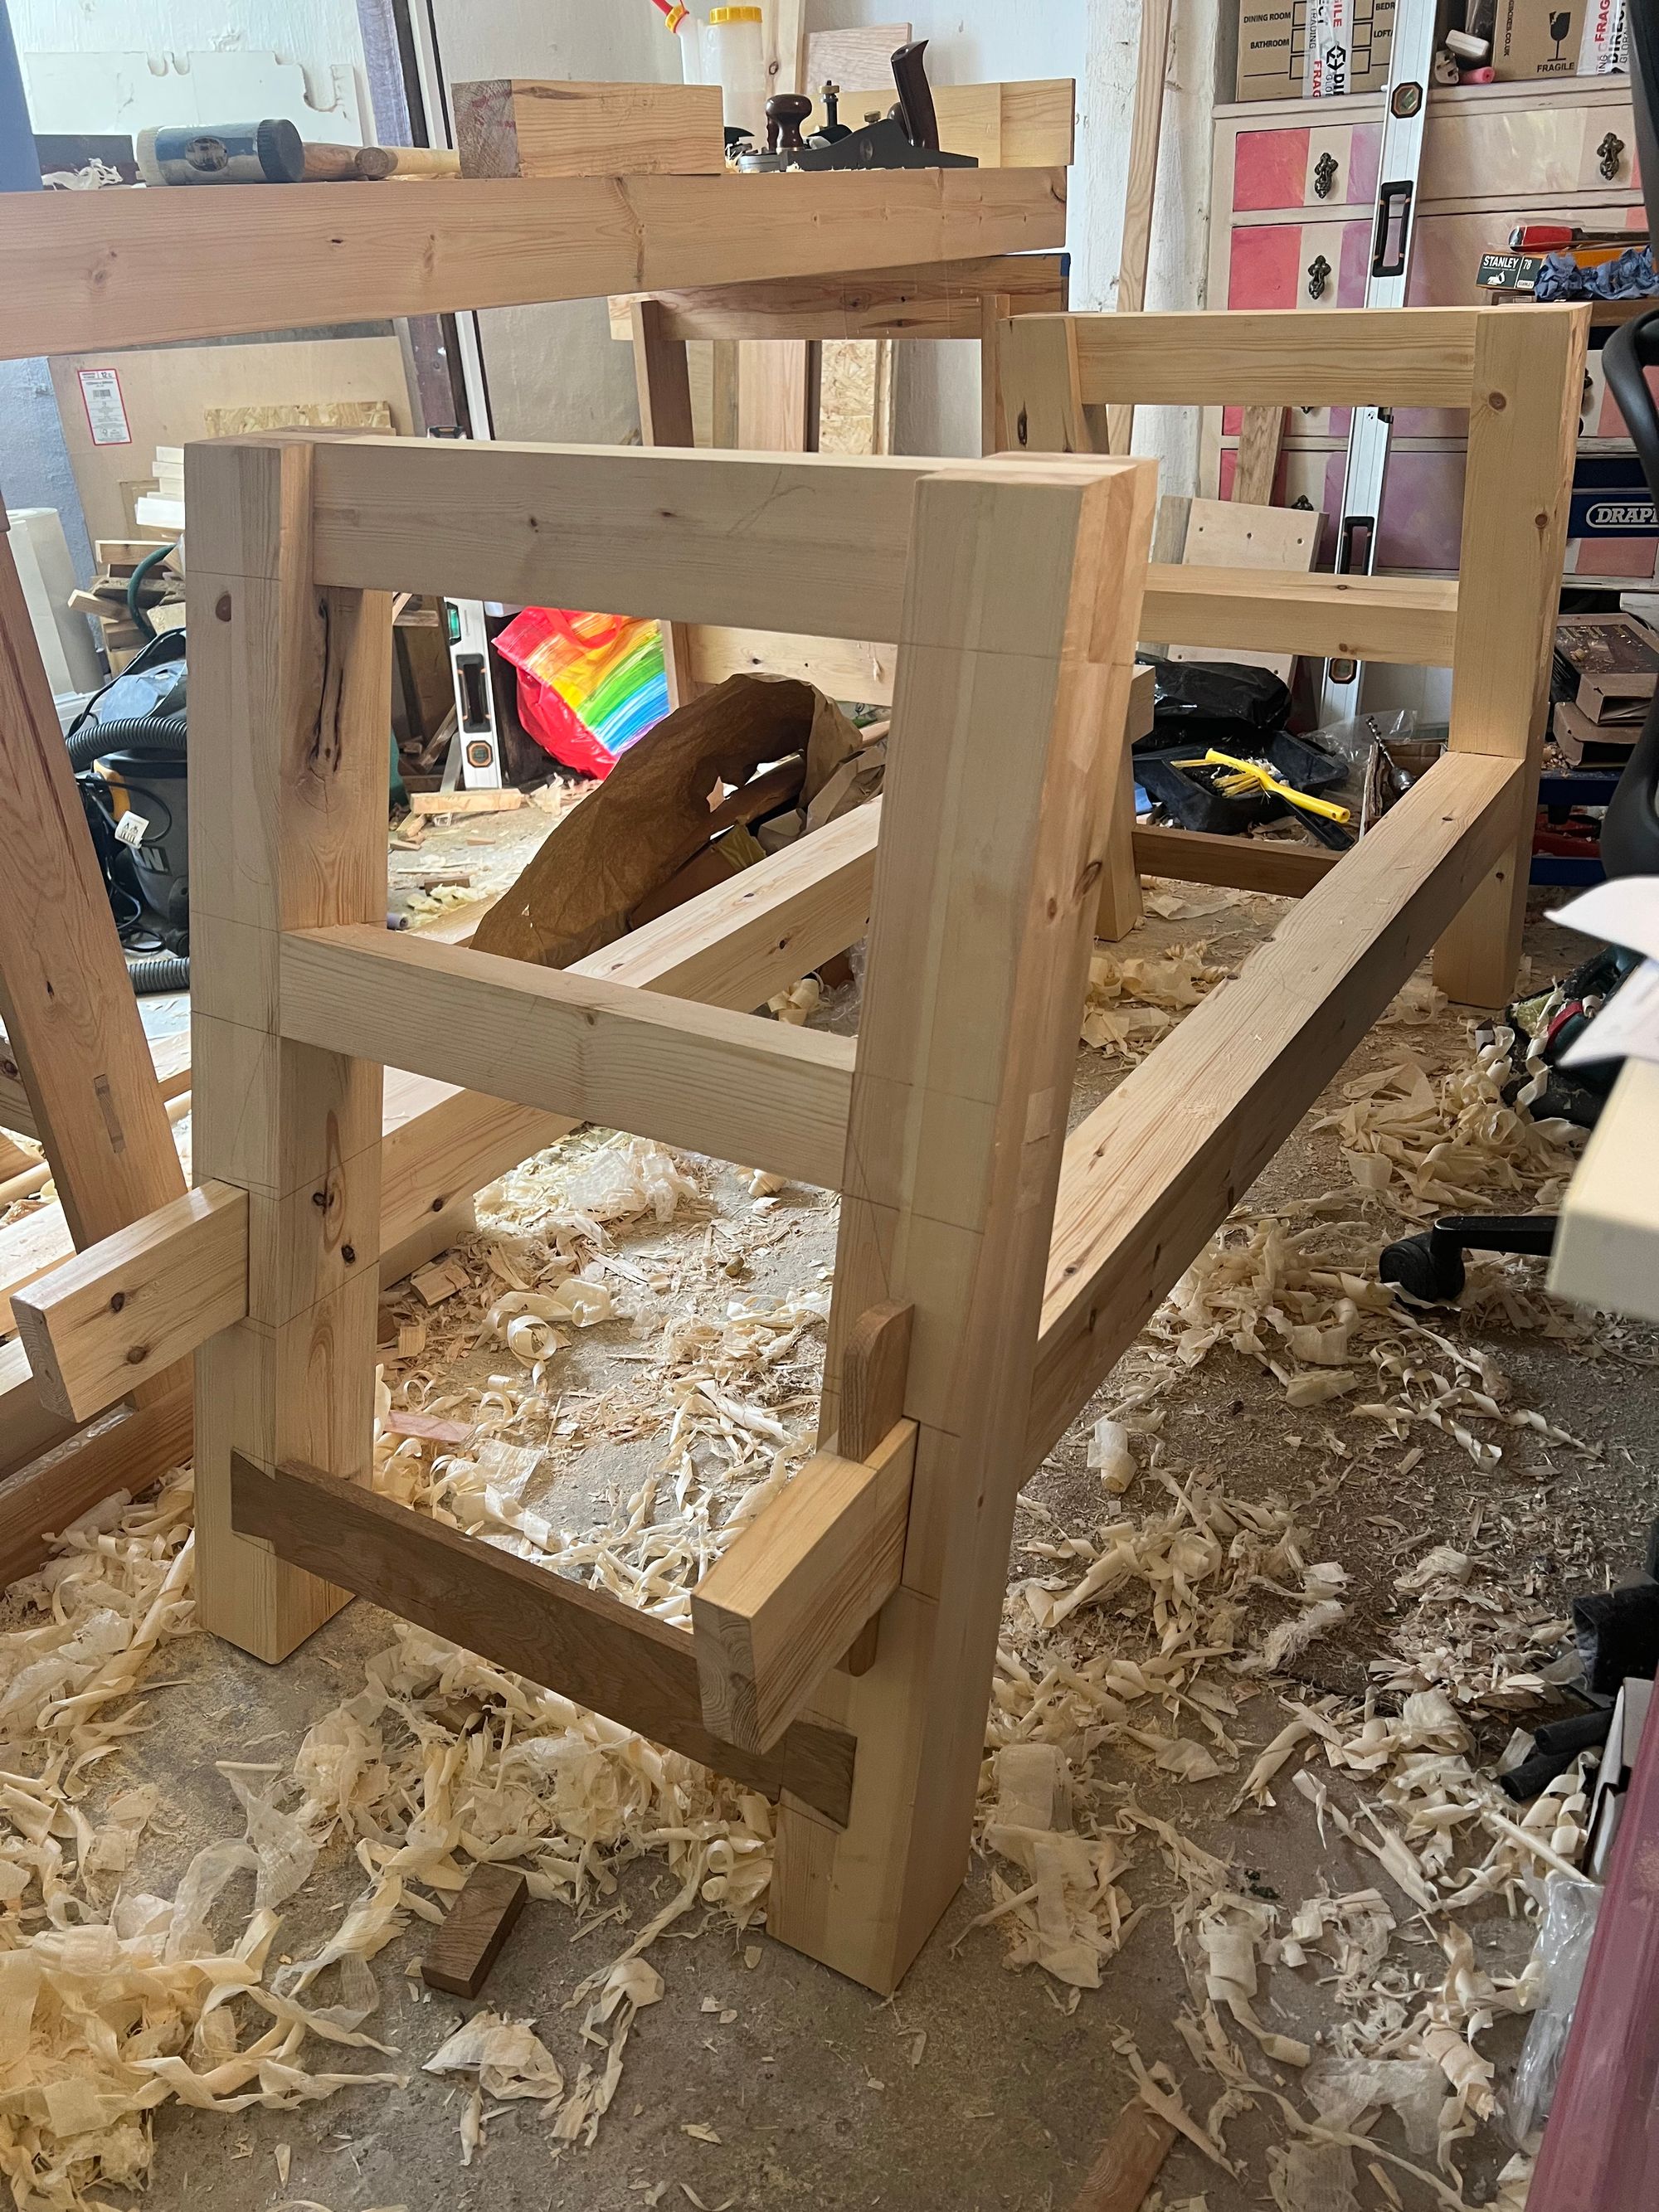
Secondary to that, I really liked the overall design of the Moravian bench with it's angled legs and traditional joinery. The angles give it more stability using less material than some alternative designs so they gave it a cost benefit as well as offering a challenge.
The build
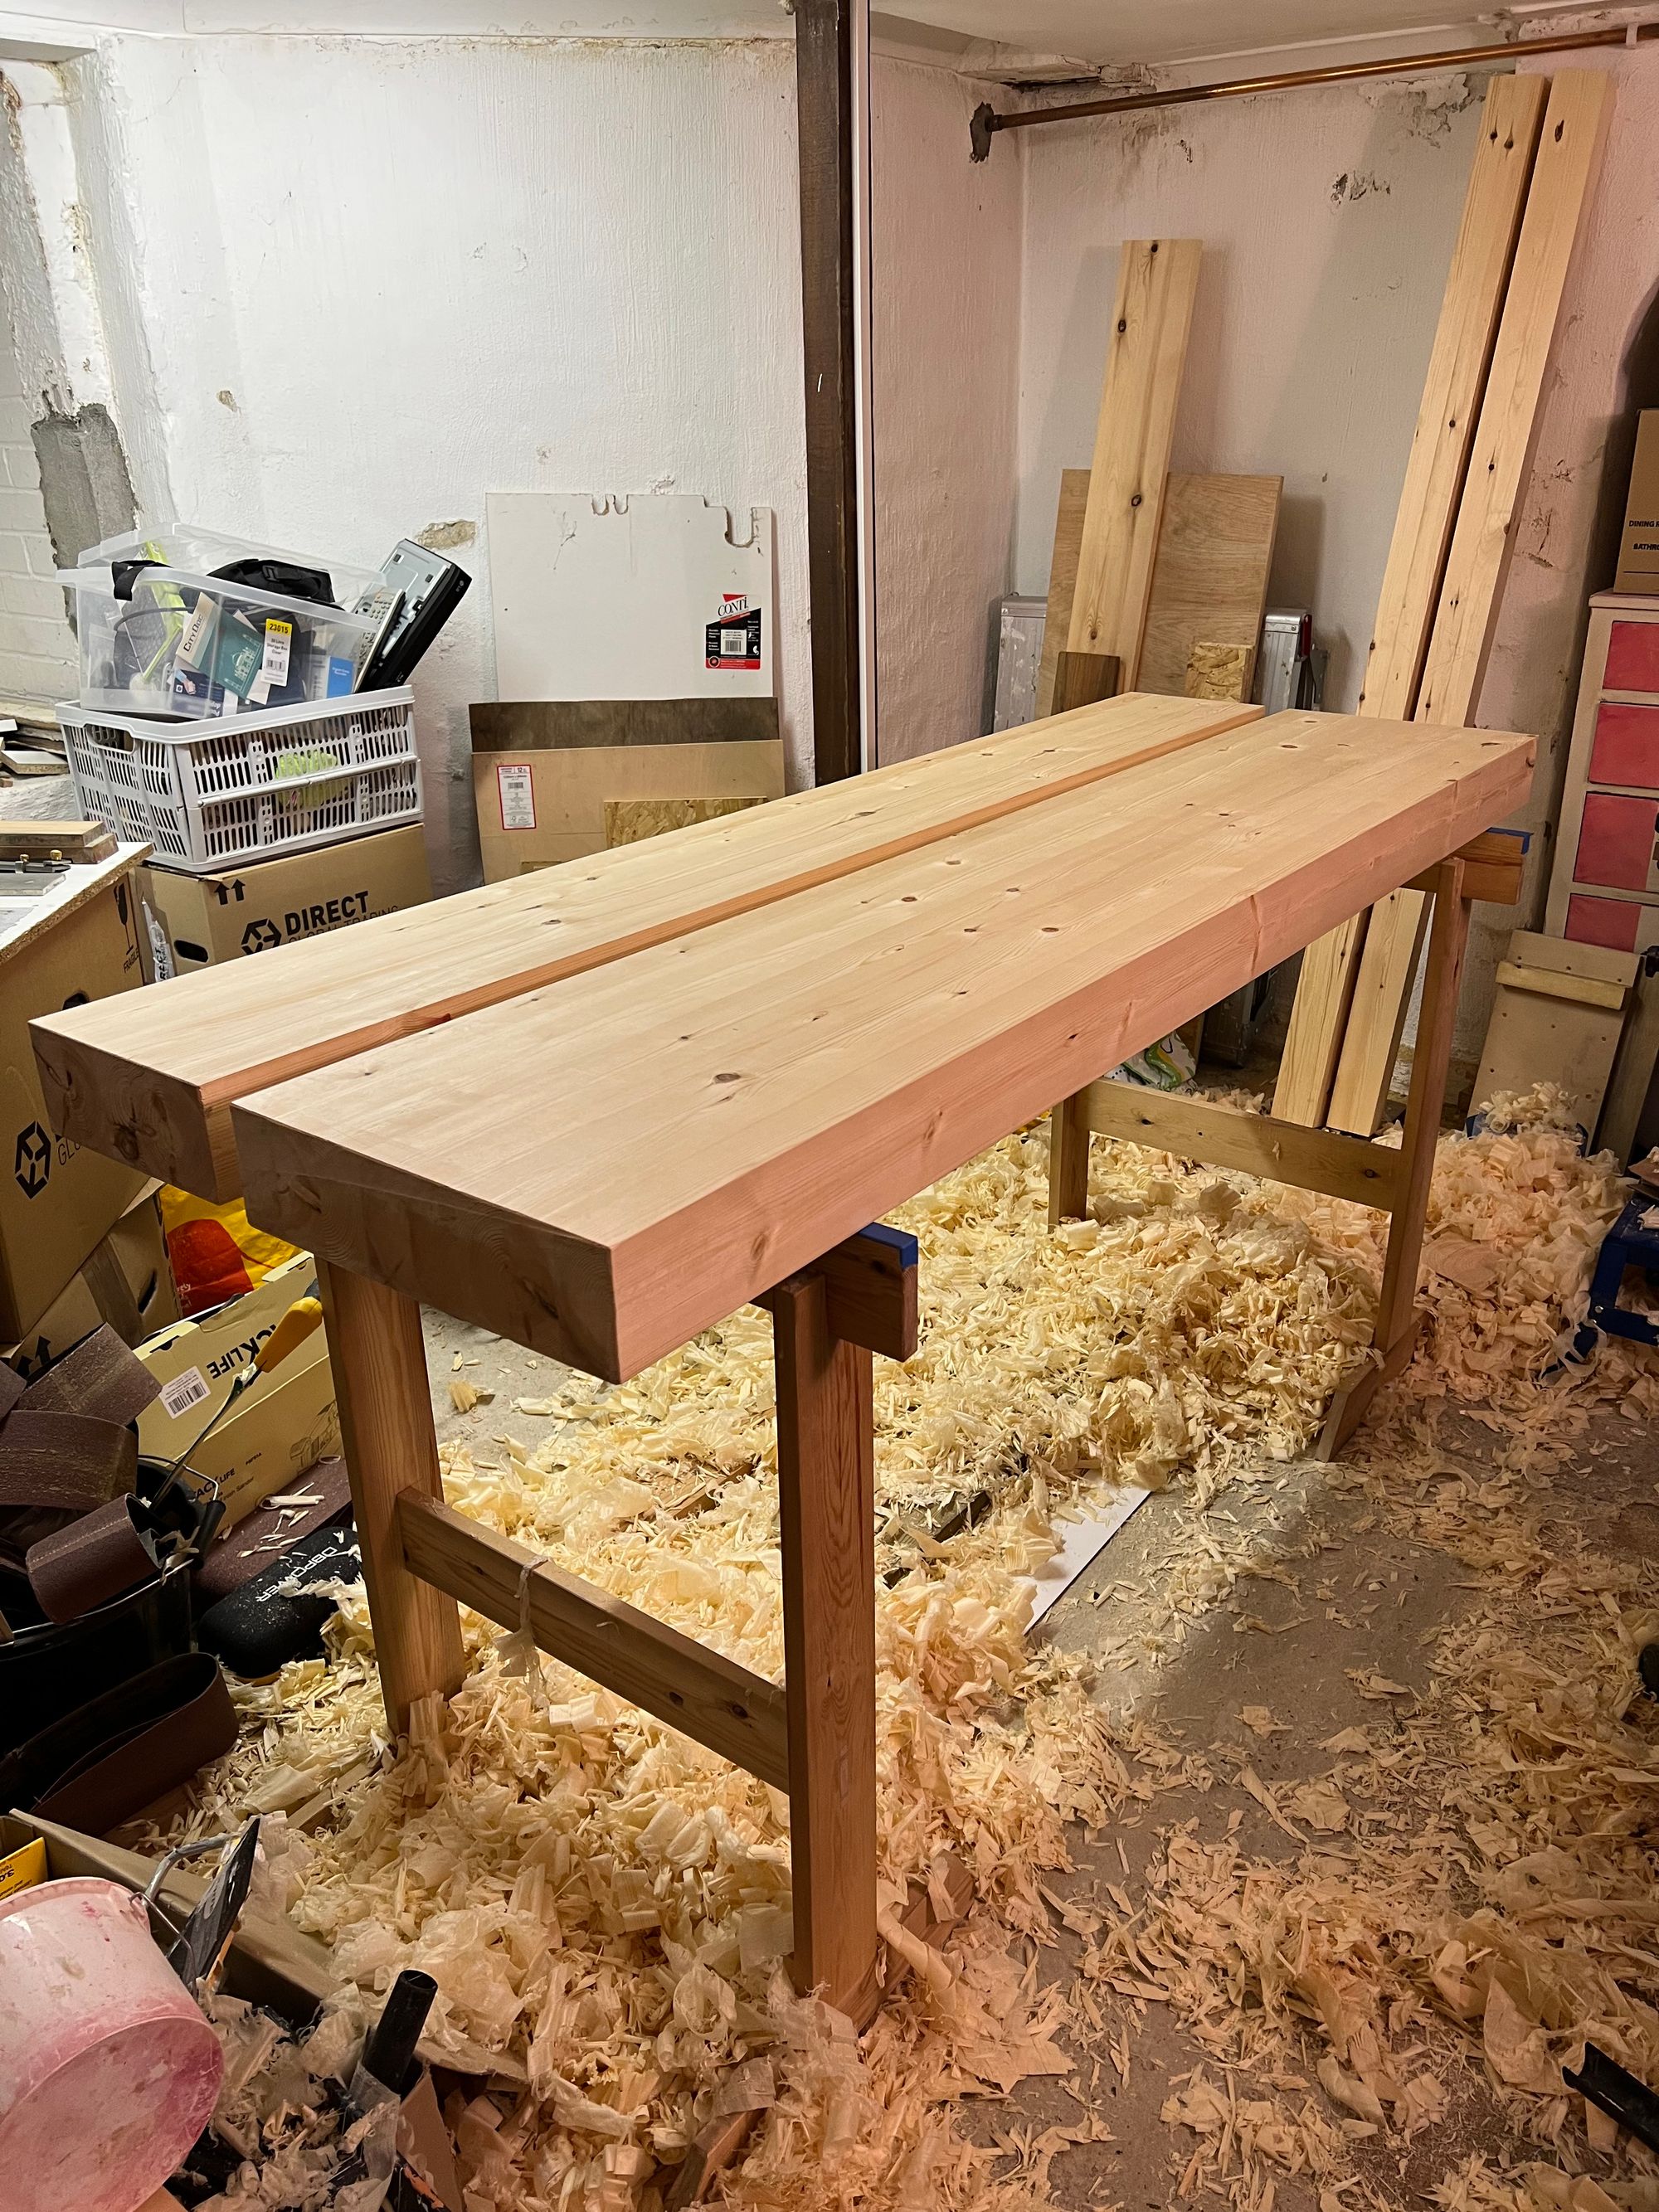
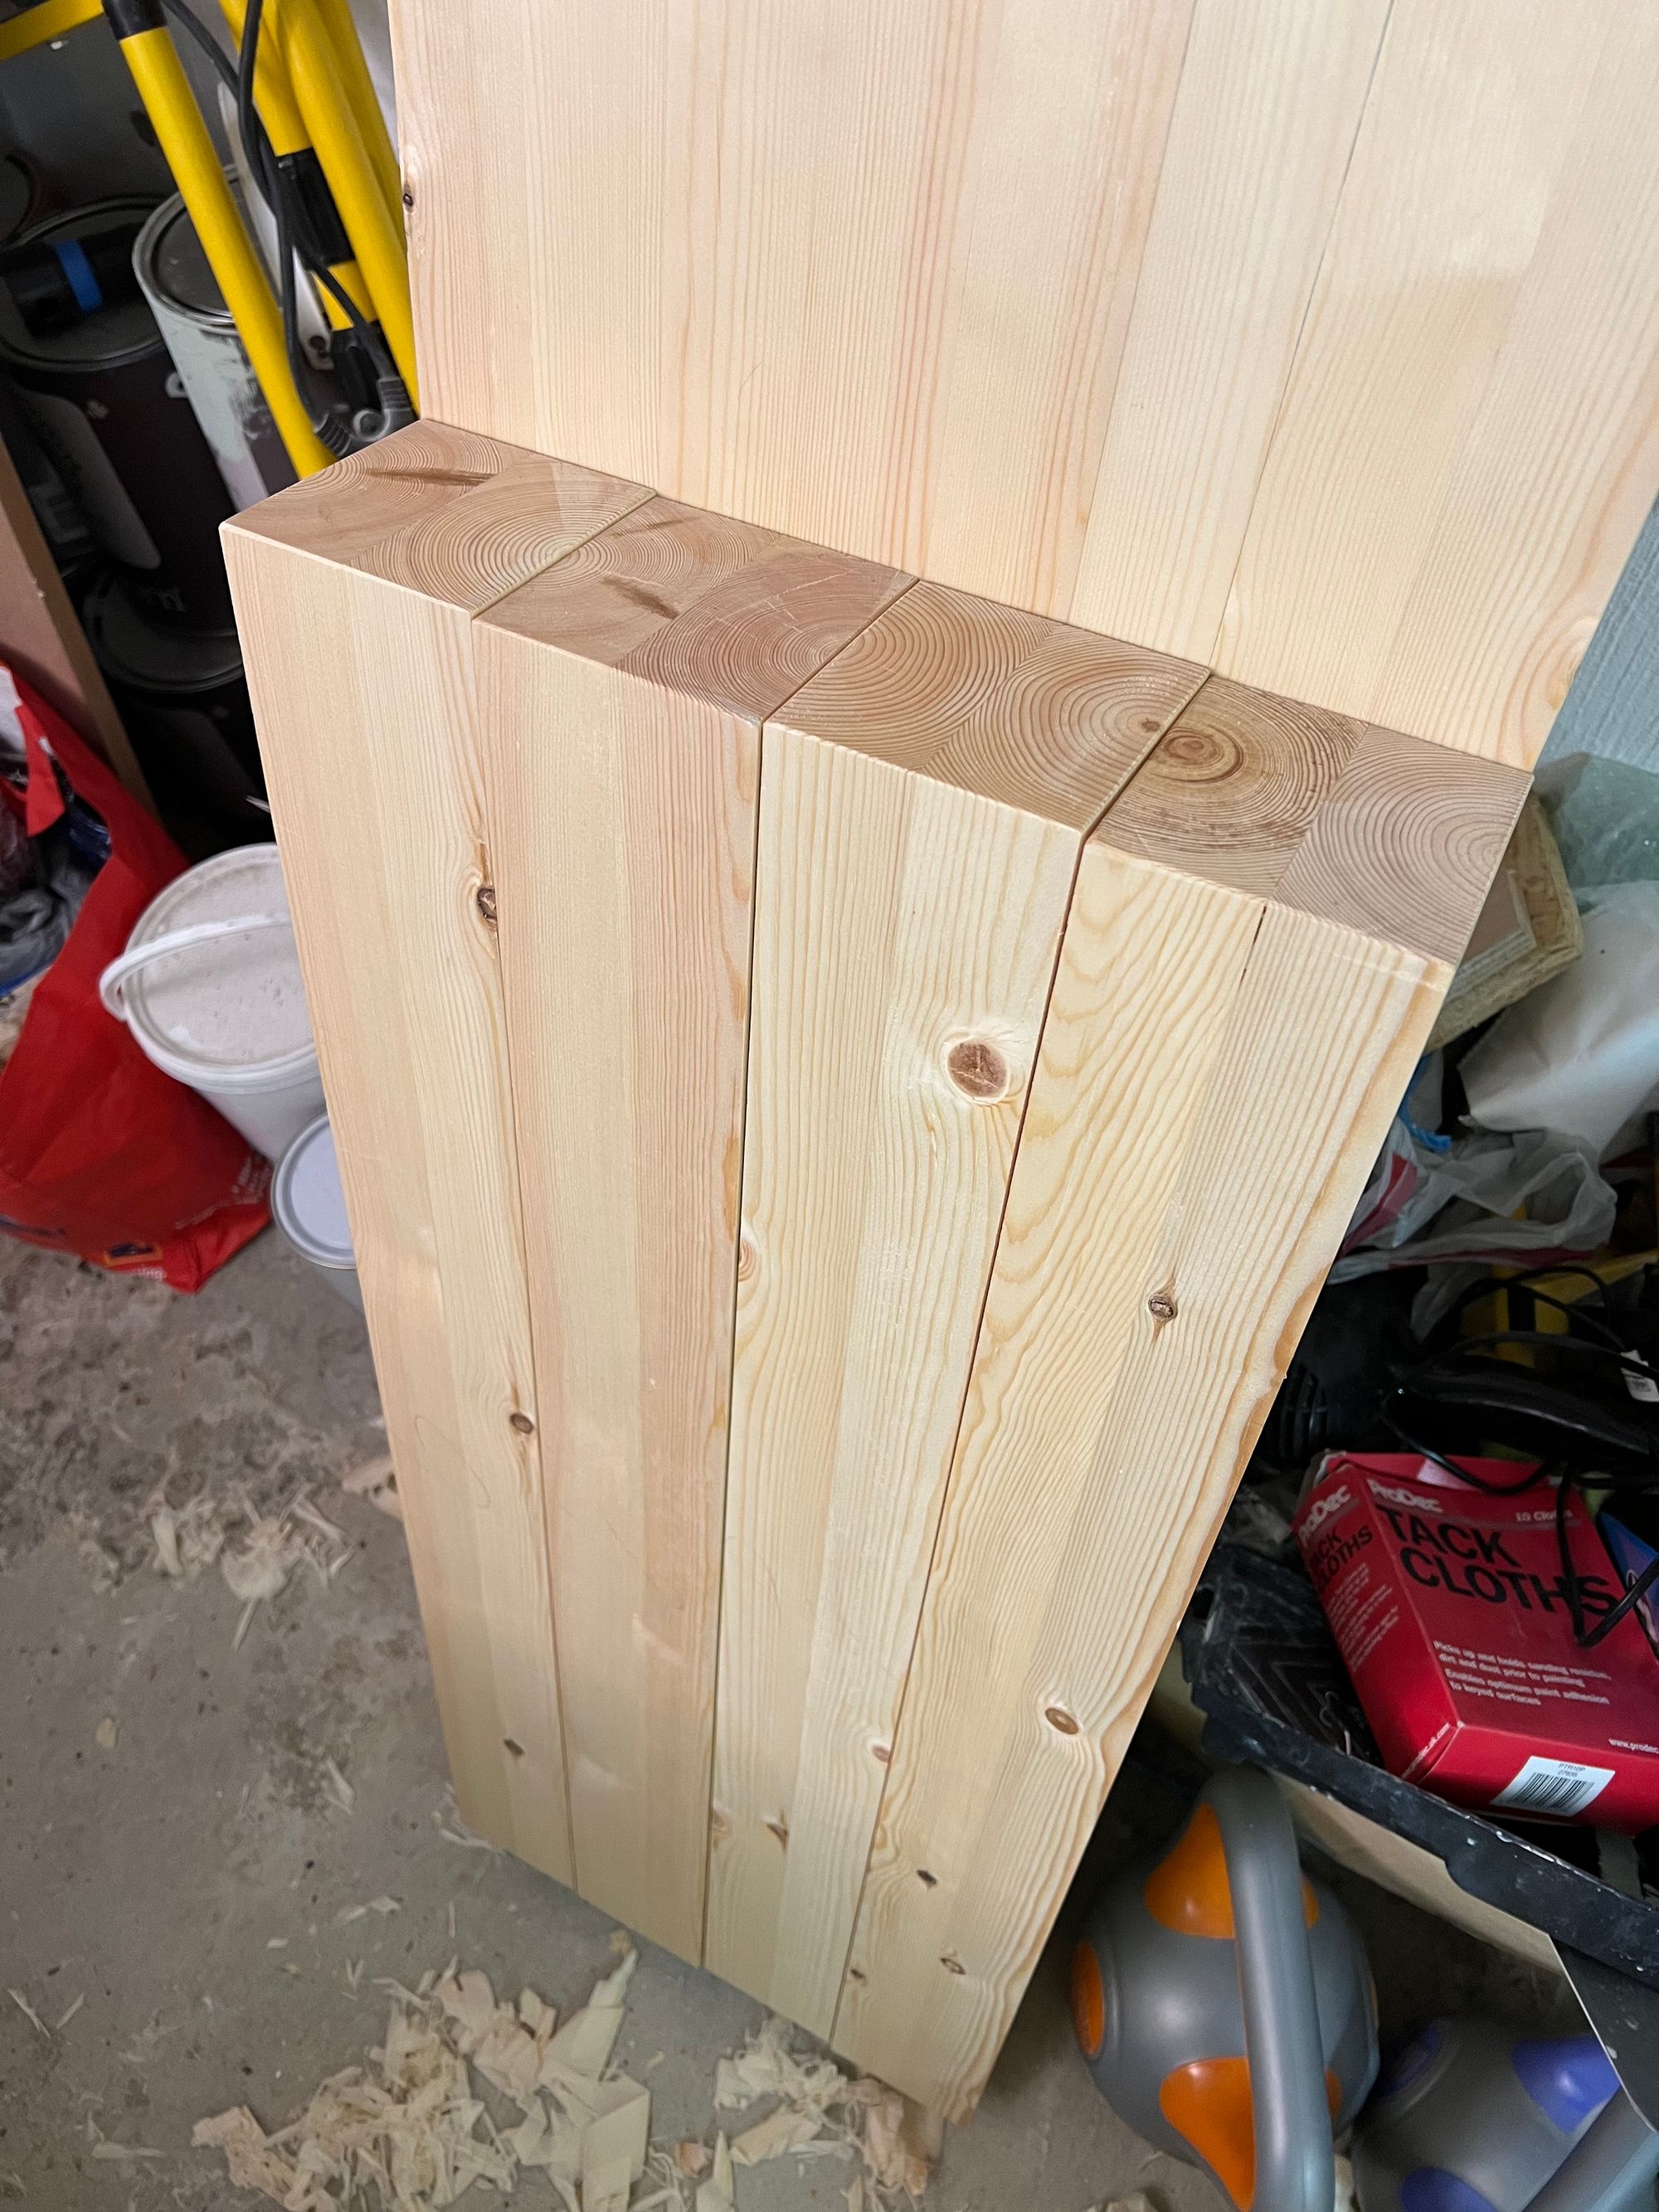
I opted for using European redwood (pine) for the bench. It's fairly soft and light compared to some of the more traditional woods used for benches, especially those used in America, but availability and cost trumped everything for this build. Having a soft bench top isn't necessarily a bad thing - denting the bench is preferable to denting any projects that are being built.
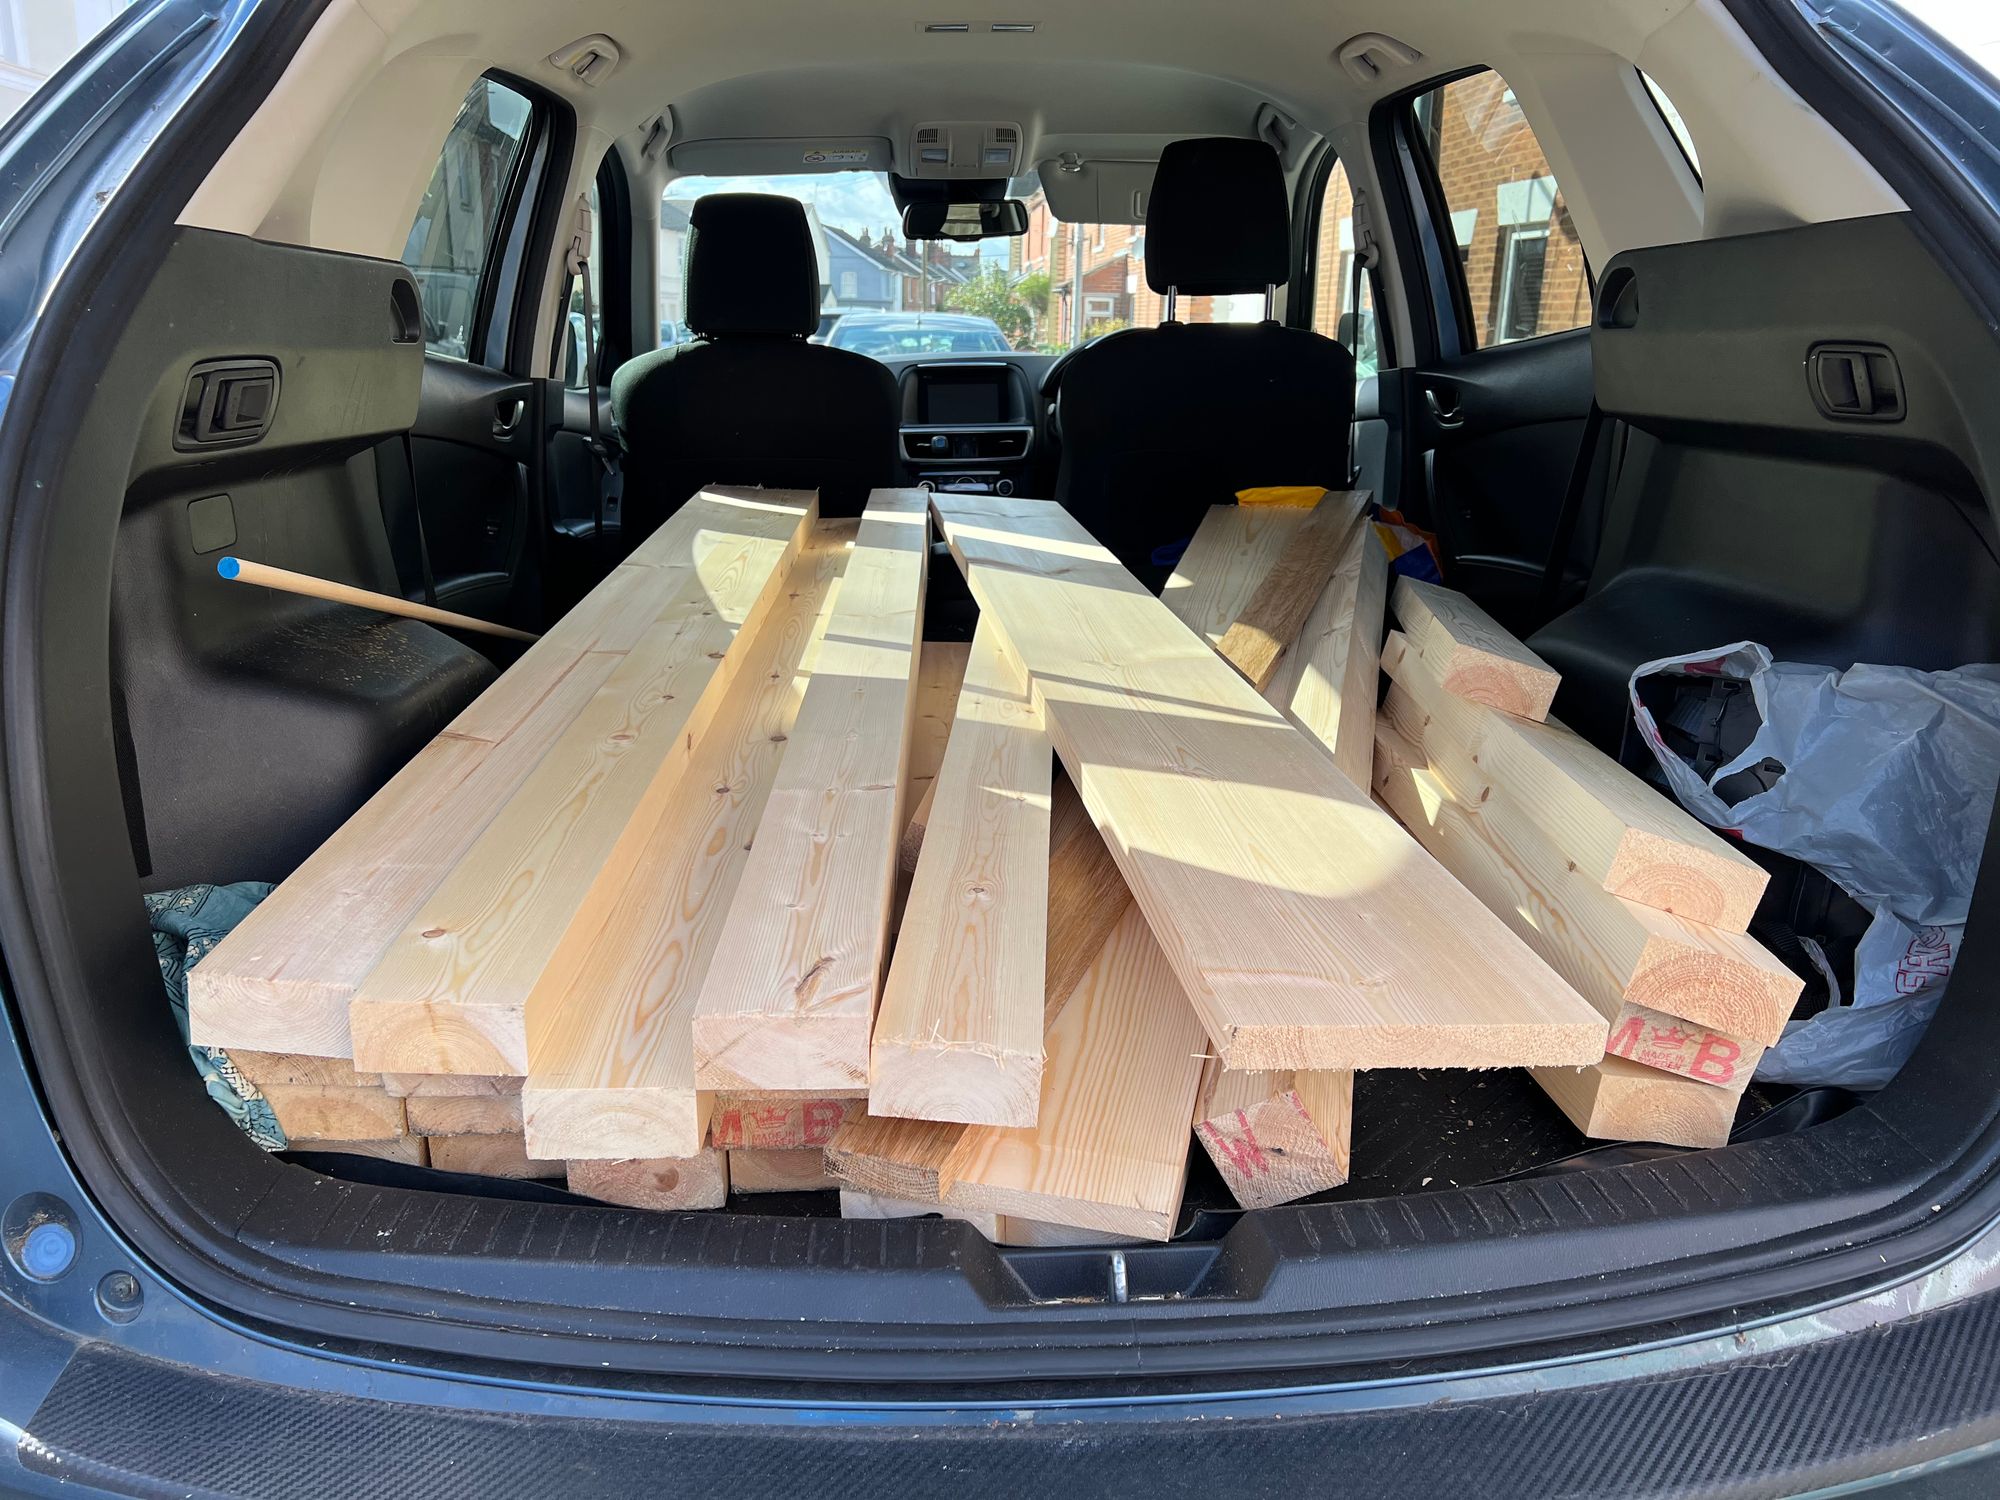
Keeping the bench length to roughly 1800mm allowed me to get the wood cut to length at the timber merchants and to fit it all into my car. It also means that I can transport the bench easily if I ever have a need to work on projects away from home. Opting for Planed Square Edge timber meant much less up-front work when laminating and flattening the top
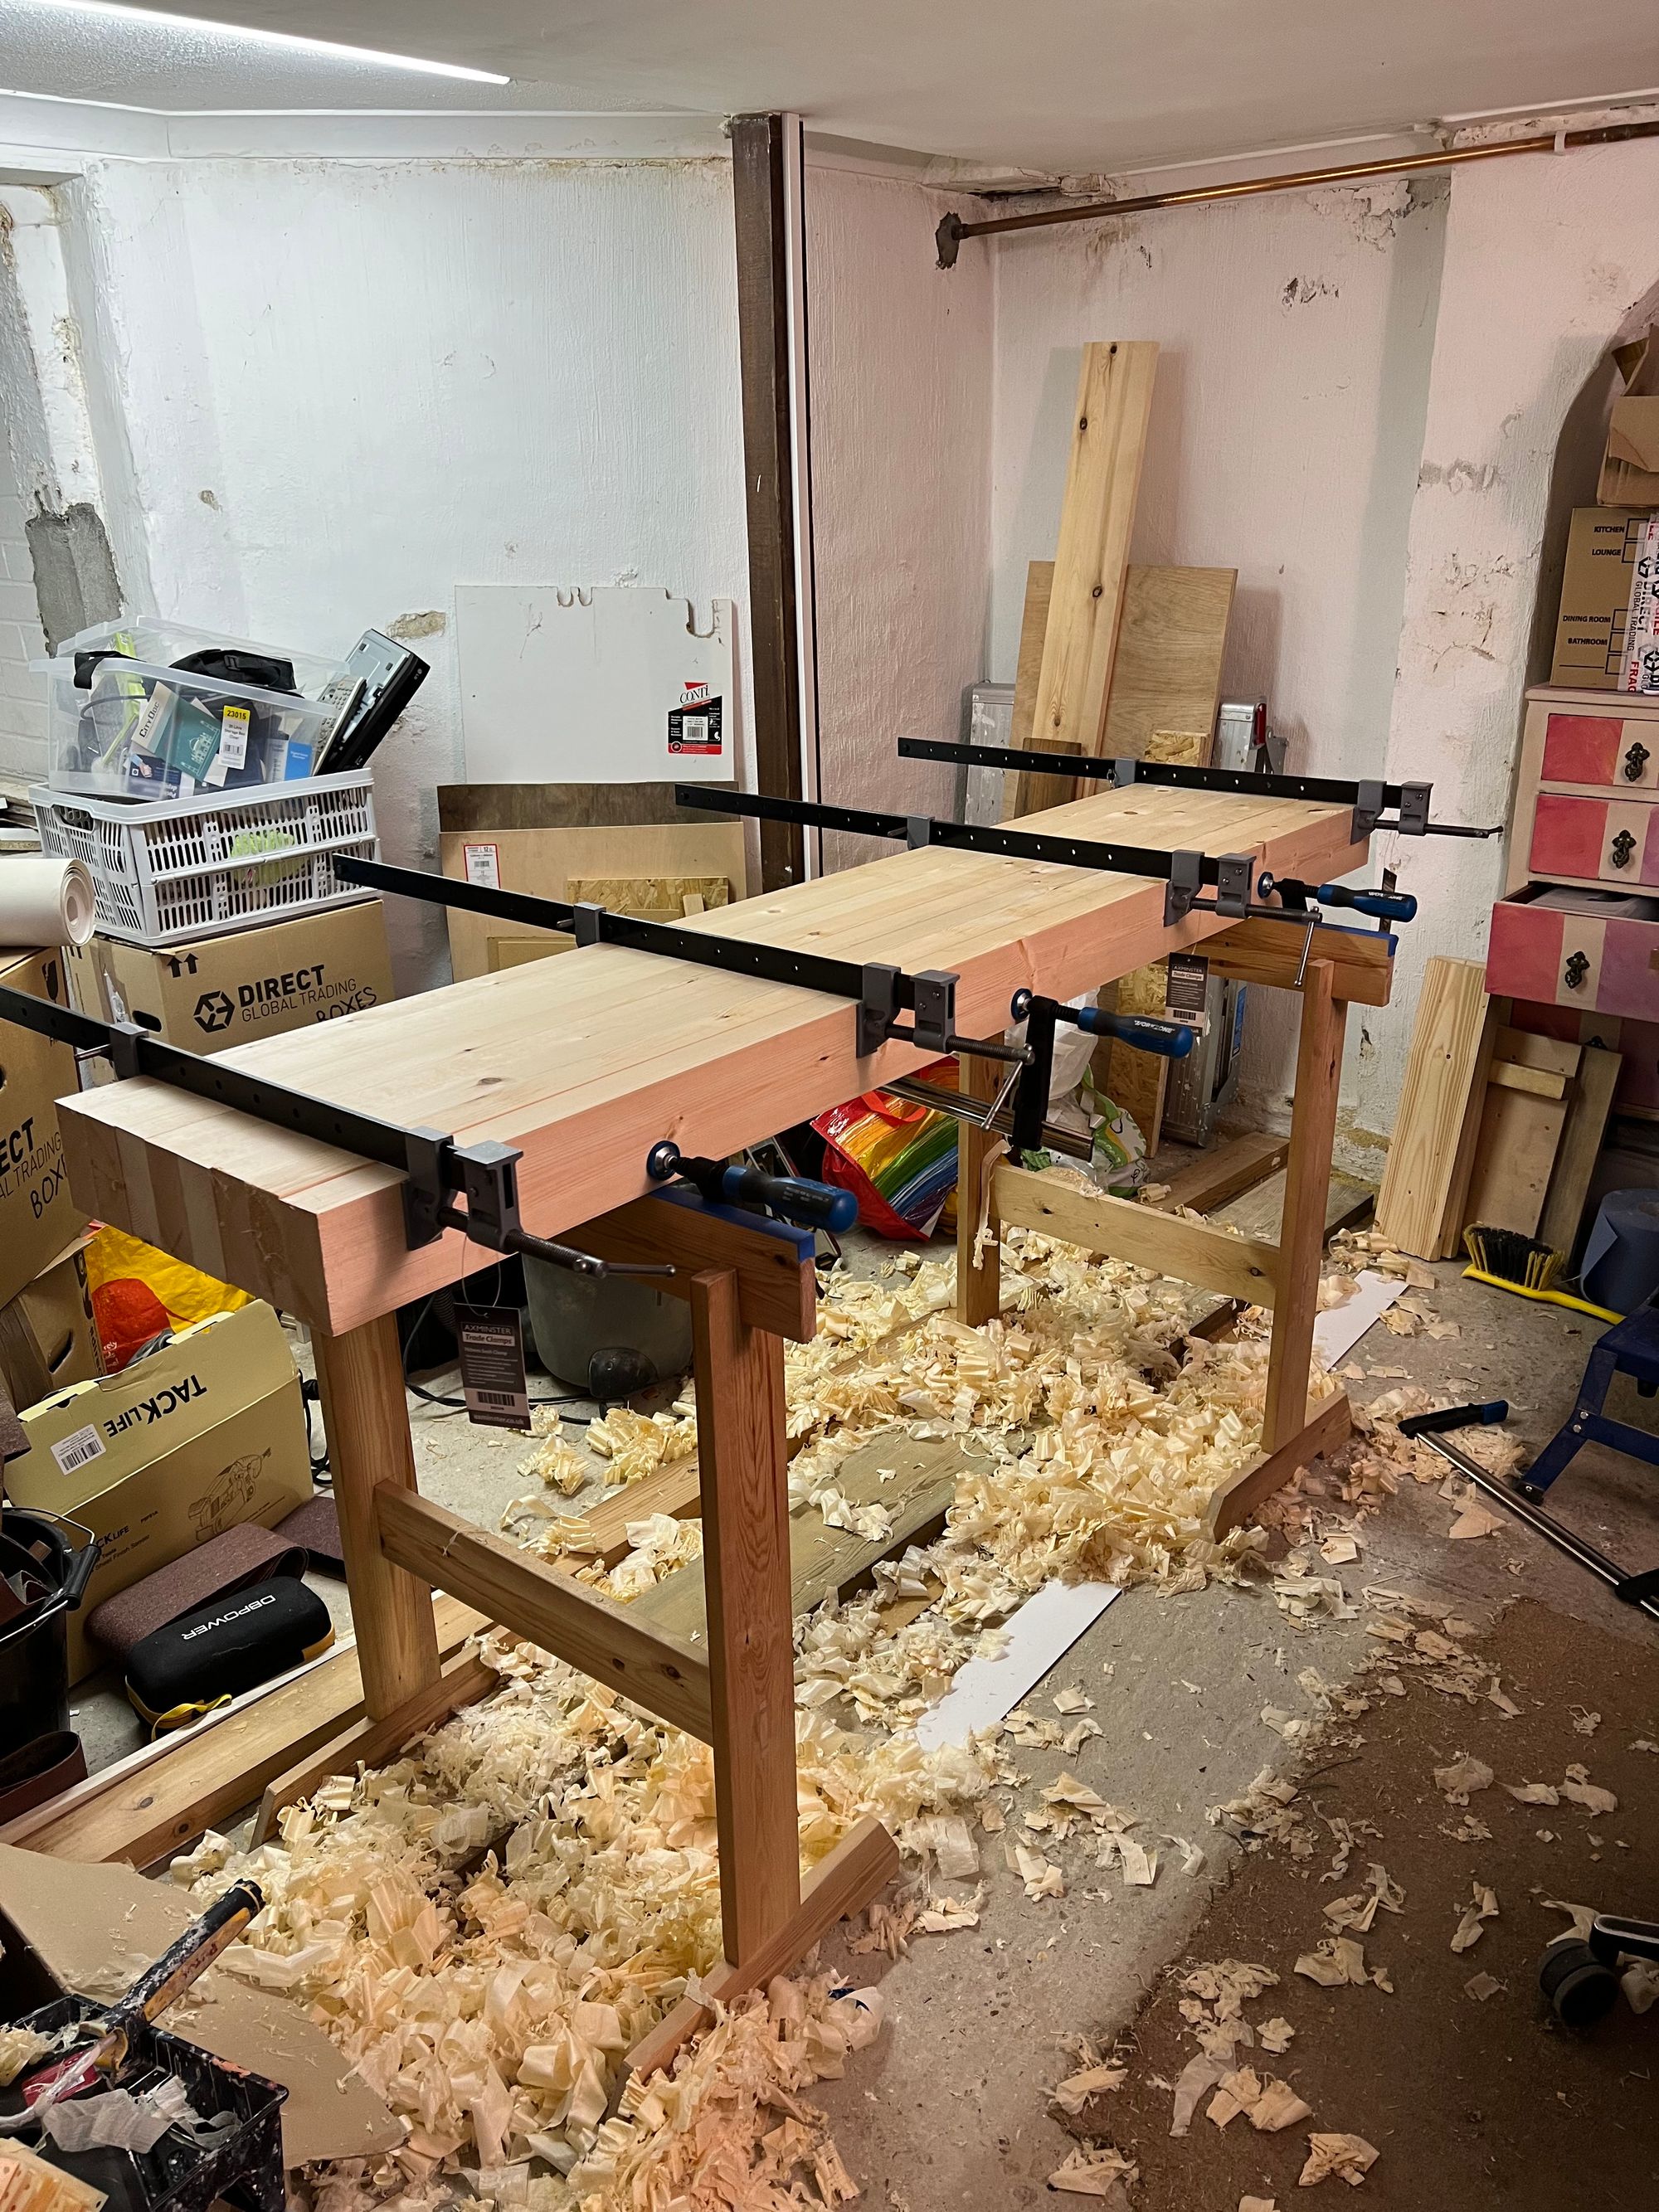
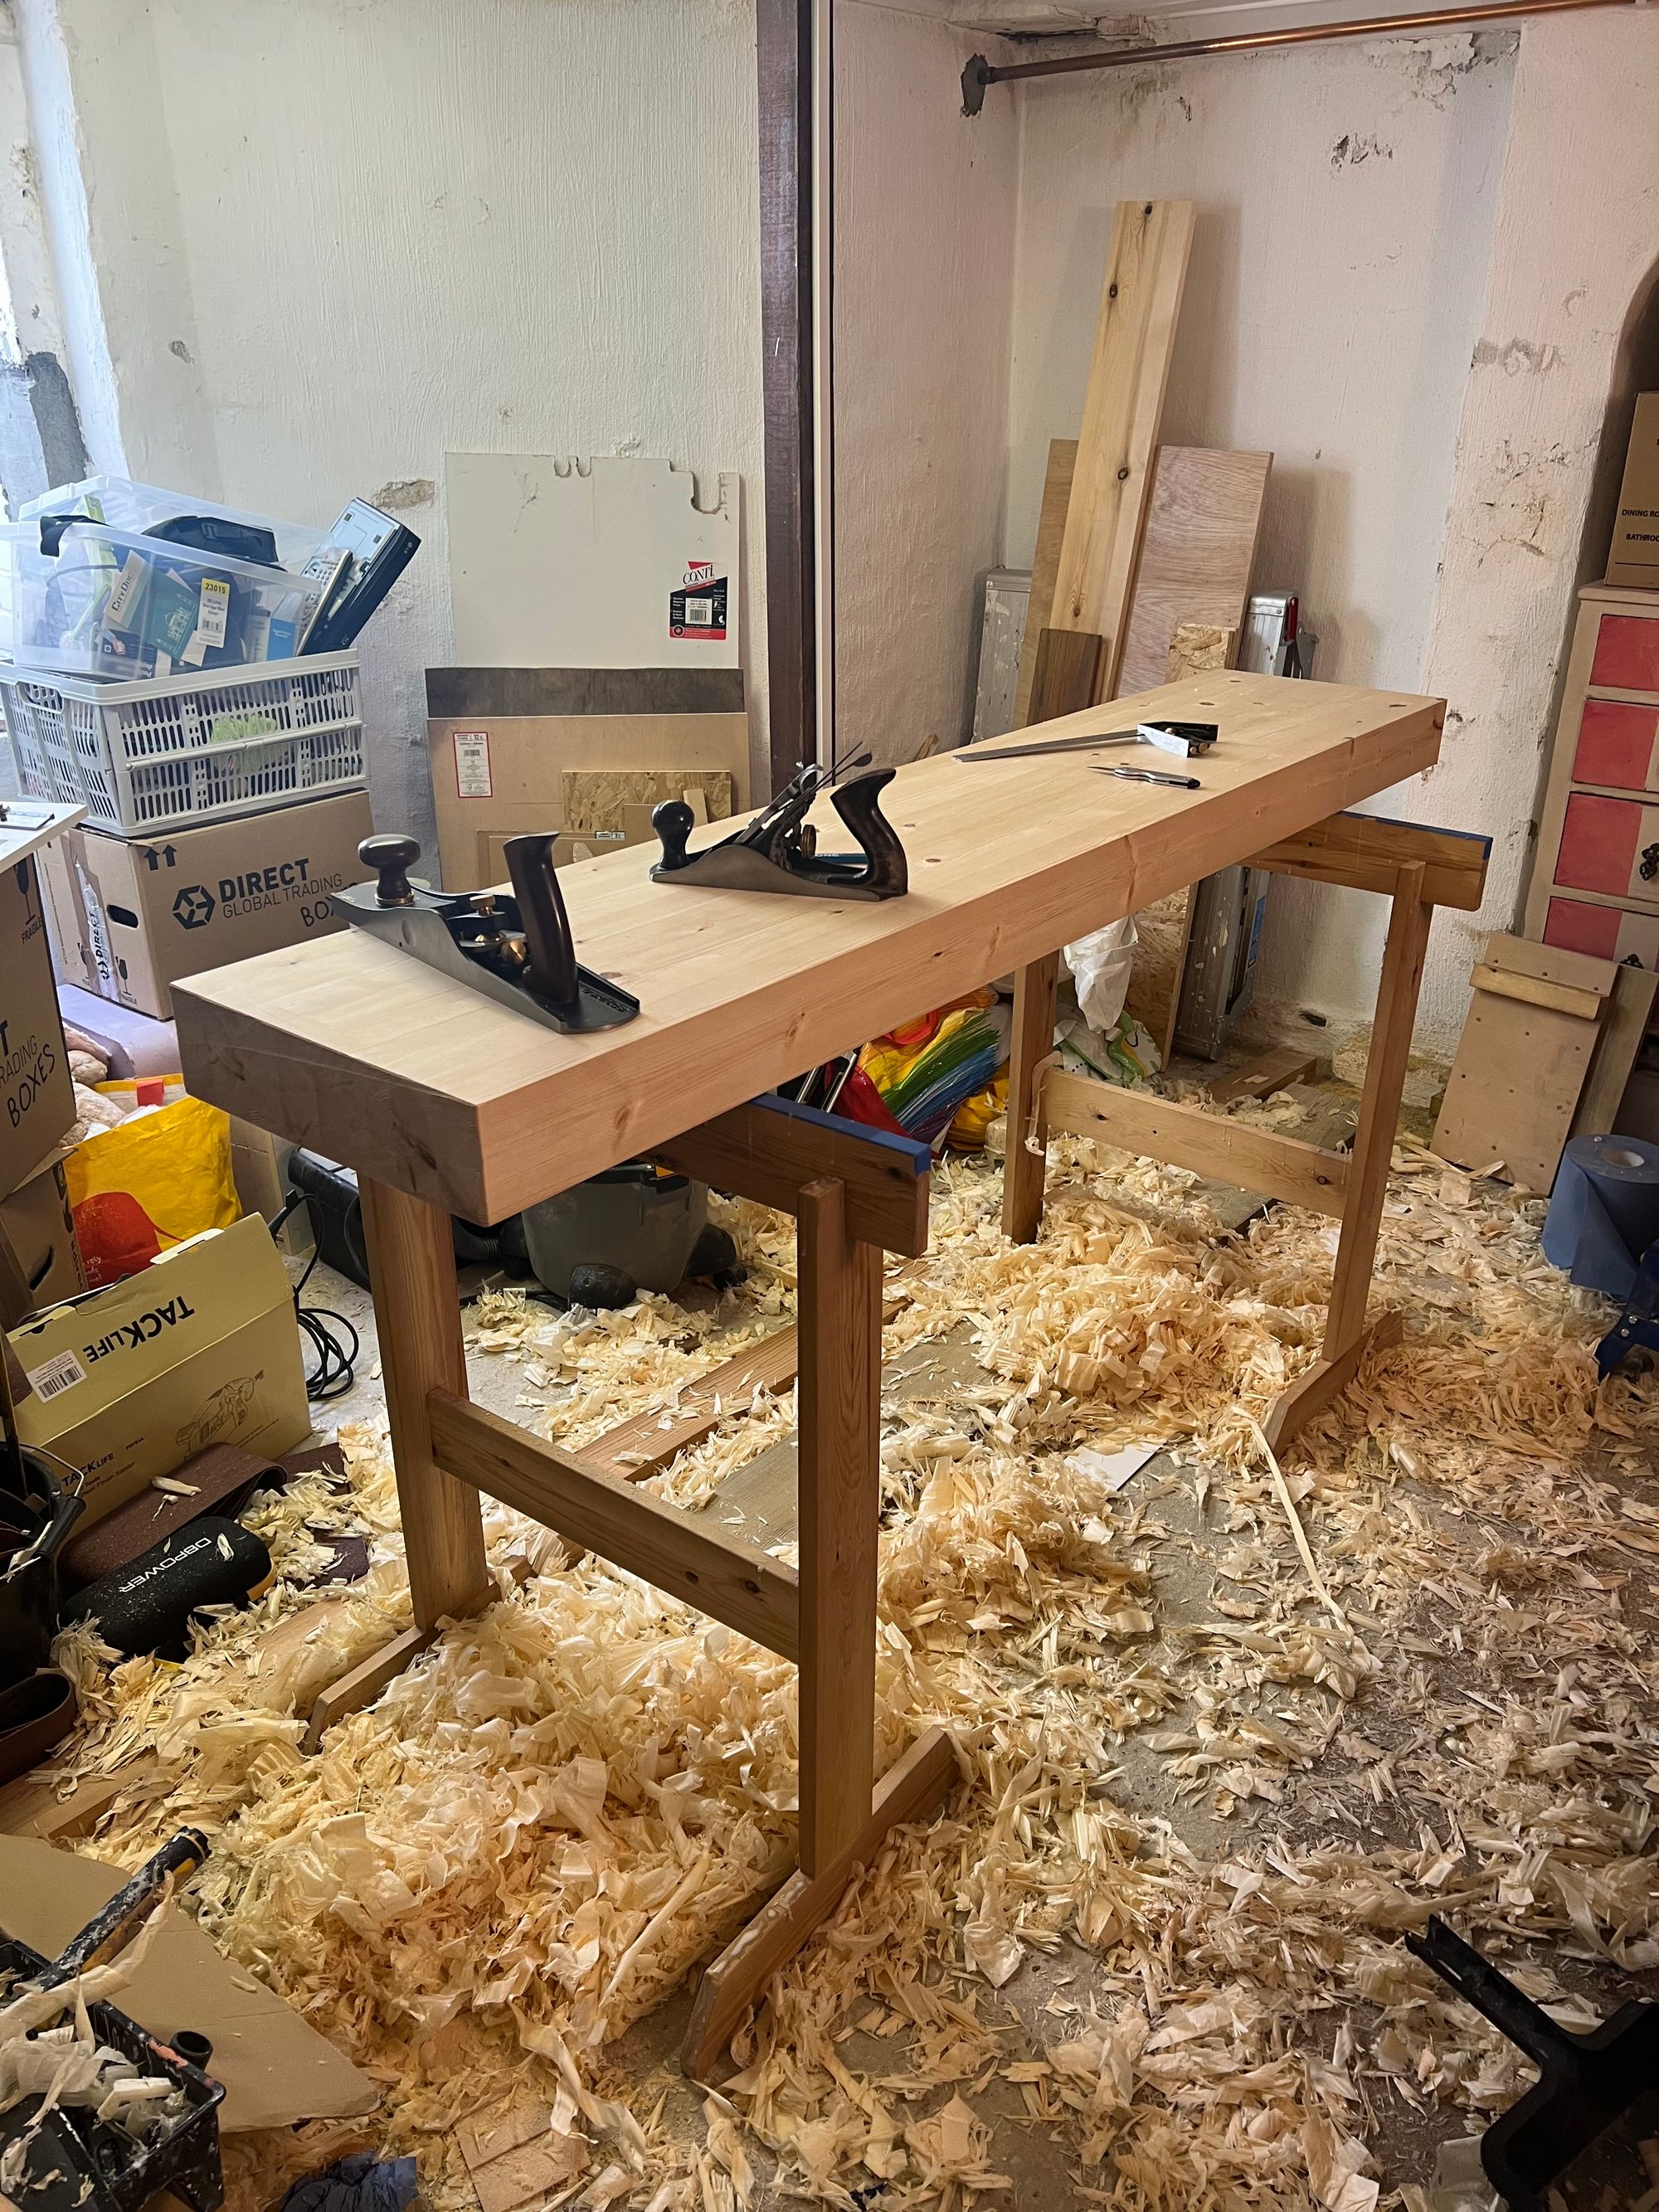
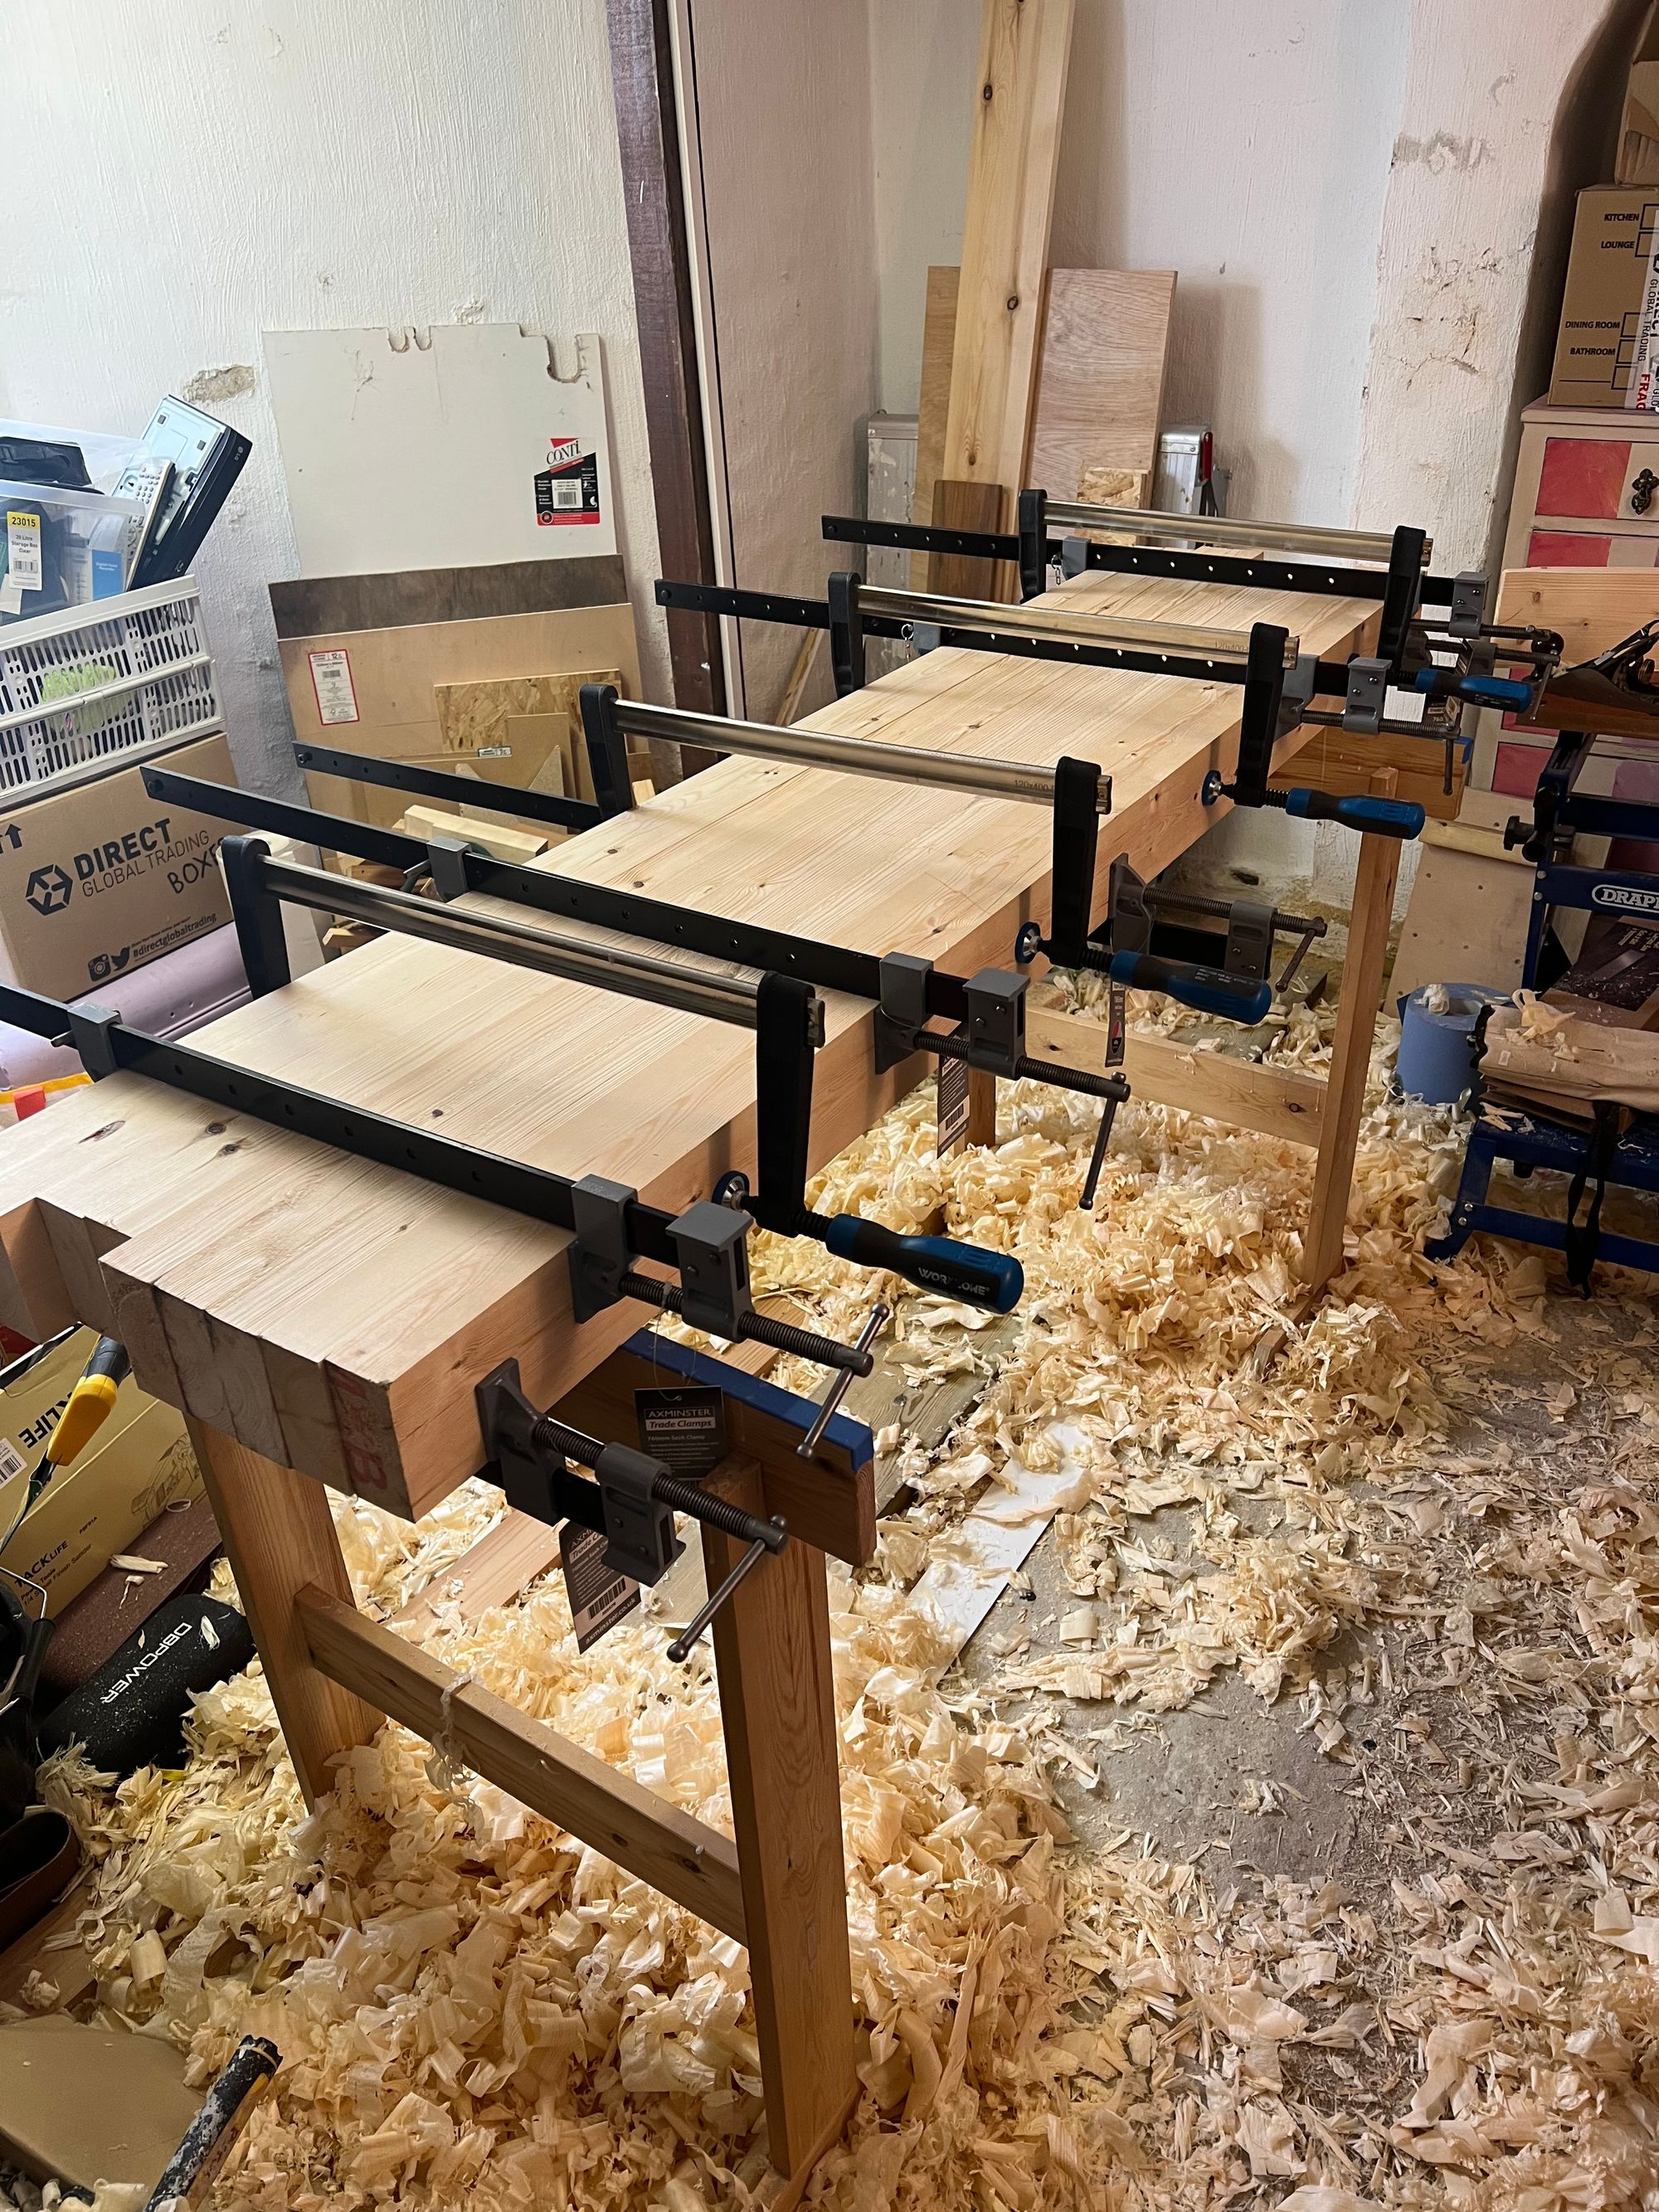
First task in the build was to plane out any twist and cup in each of the 2x4s ready for laminating. Following Paul Sellers advice from his workbench build I didn't spend too much time on this, a small amount of bow and twist was acceptable as it would largely disappear in the glue up.
The original Moravian bench and the designs/video based on it all include a tool tray at the back of the bench. I deviated from those plans
Post-build troubleshooting
After adding a row of dog holes to the back top I quickly discovered they weren't much use for clamping anything to the front top using holdfasts. The tops are only held in place with gravity and wooden dowel pins, when using the holdfasts they create a strong enough lever action and lift the back top up resulting in no hold.
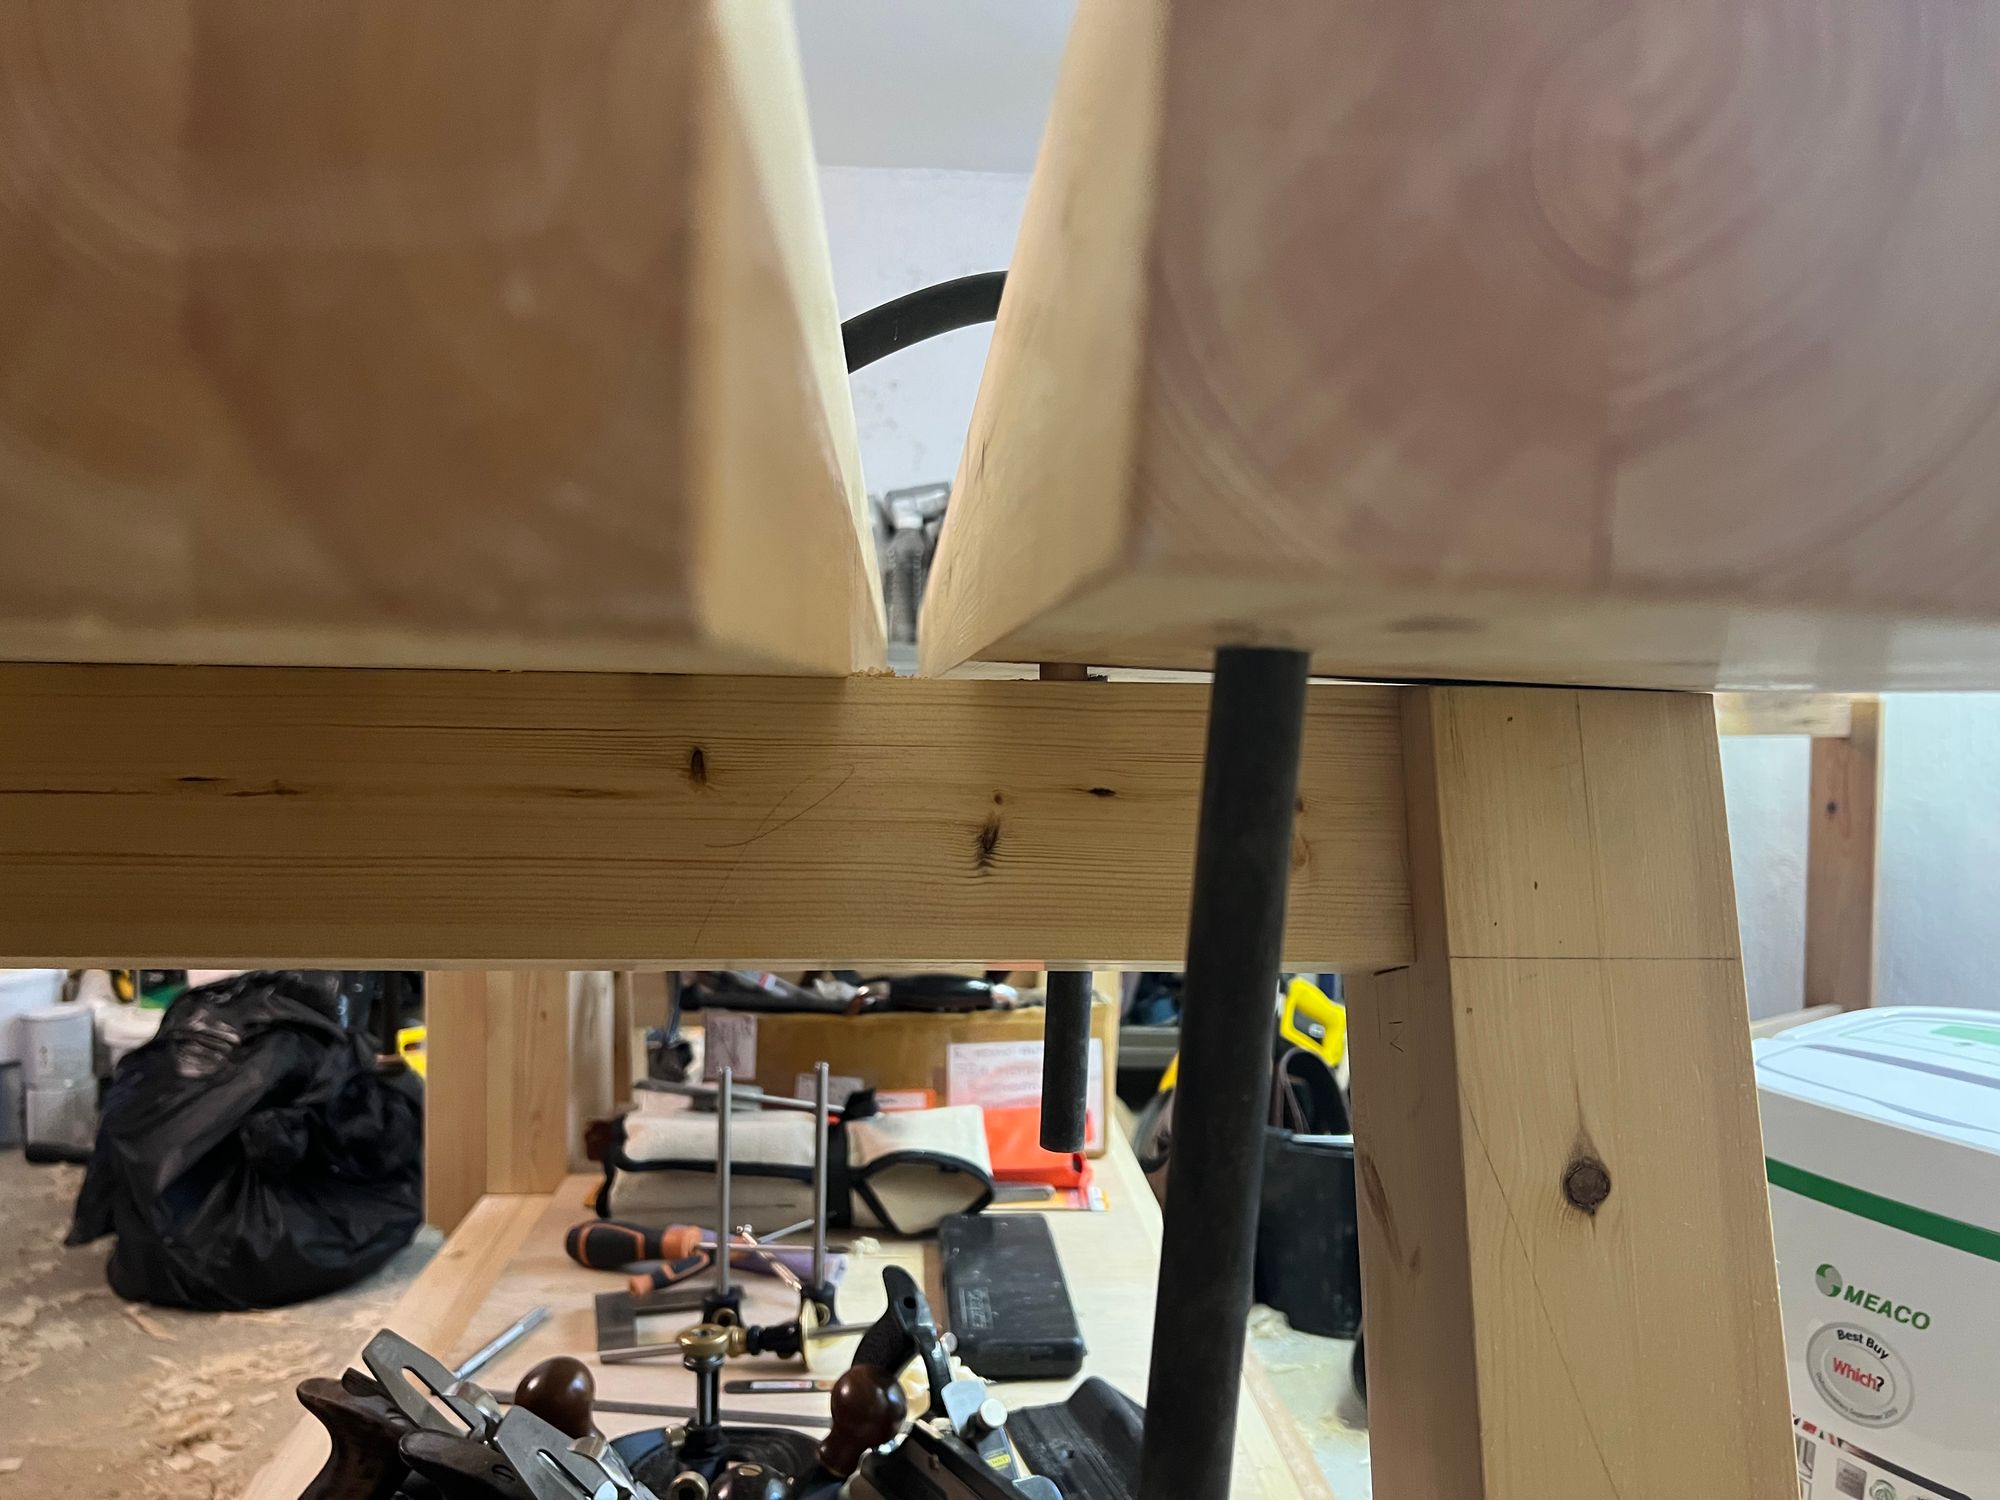
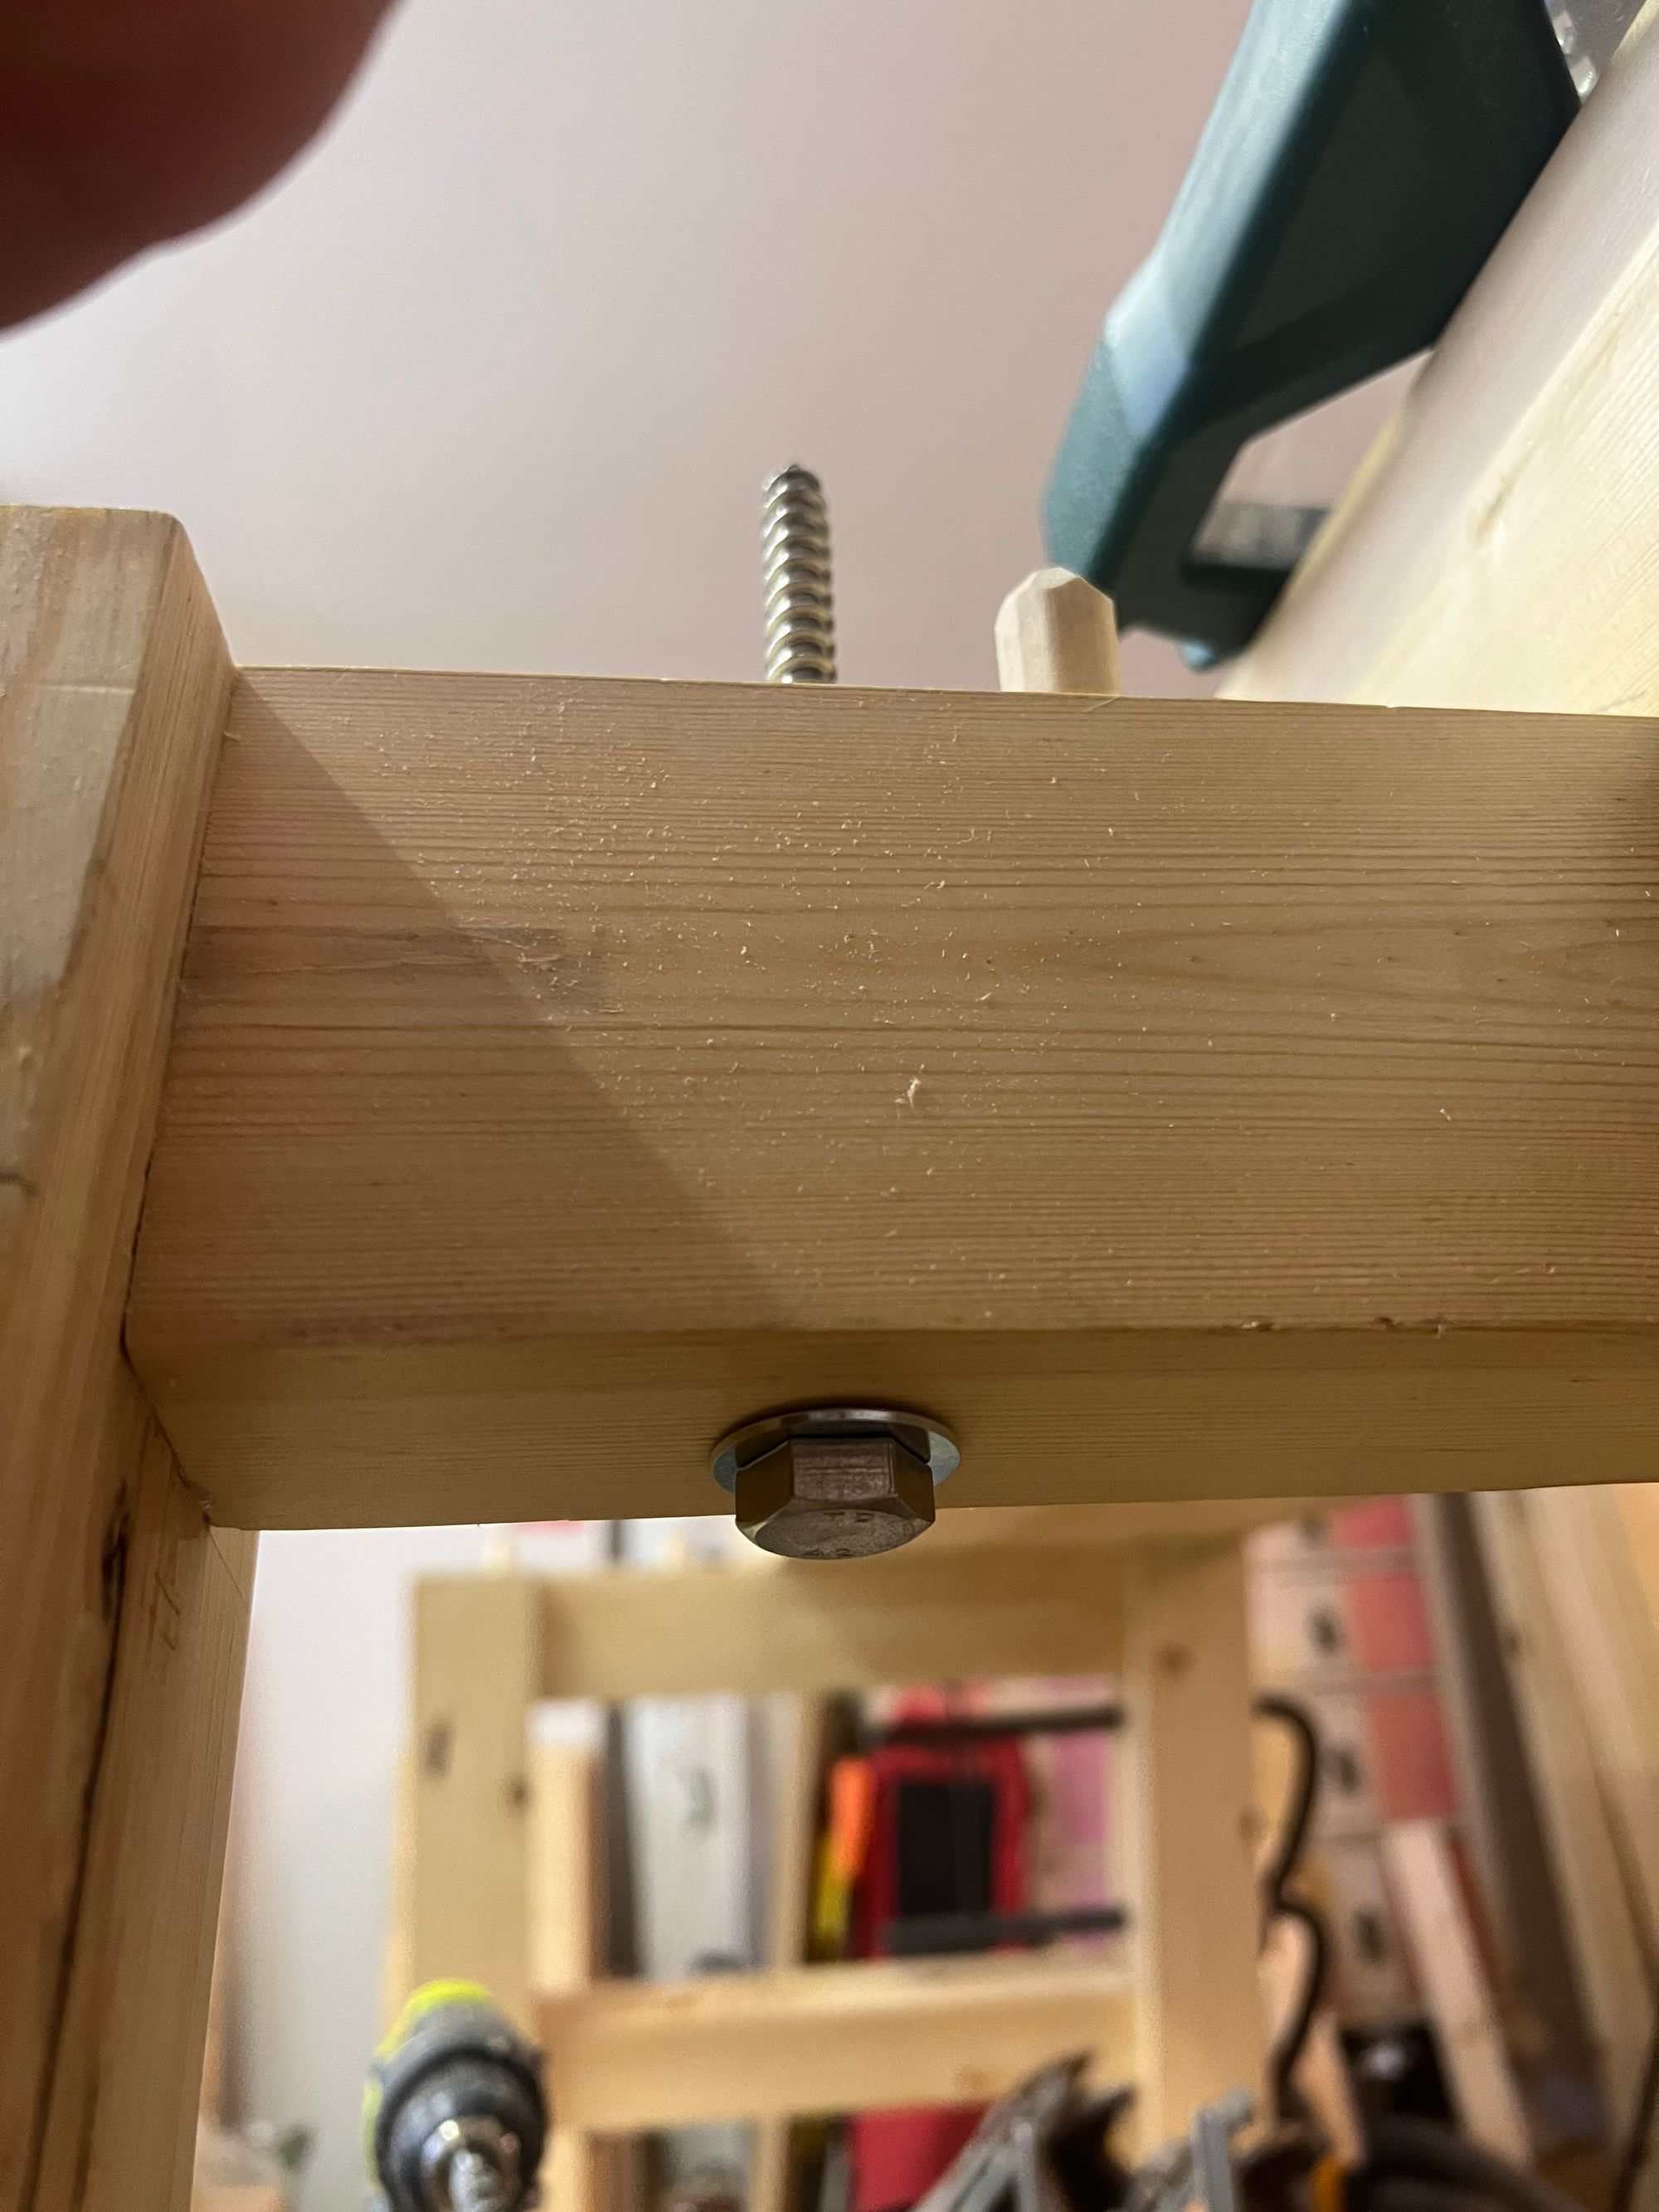
My fix was to drill through the top stretcher of each leg assembly and use 150mm M10 coach screws to secure the top. It means the bench requires a little more disassembly when knocking down but the result is worth it as the holdfasts now work as intended.

Next steps:
- Finish (osmo polyx)
- Dog holes for front top
- Removable tool holder/planing stop
- Drawer?